
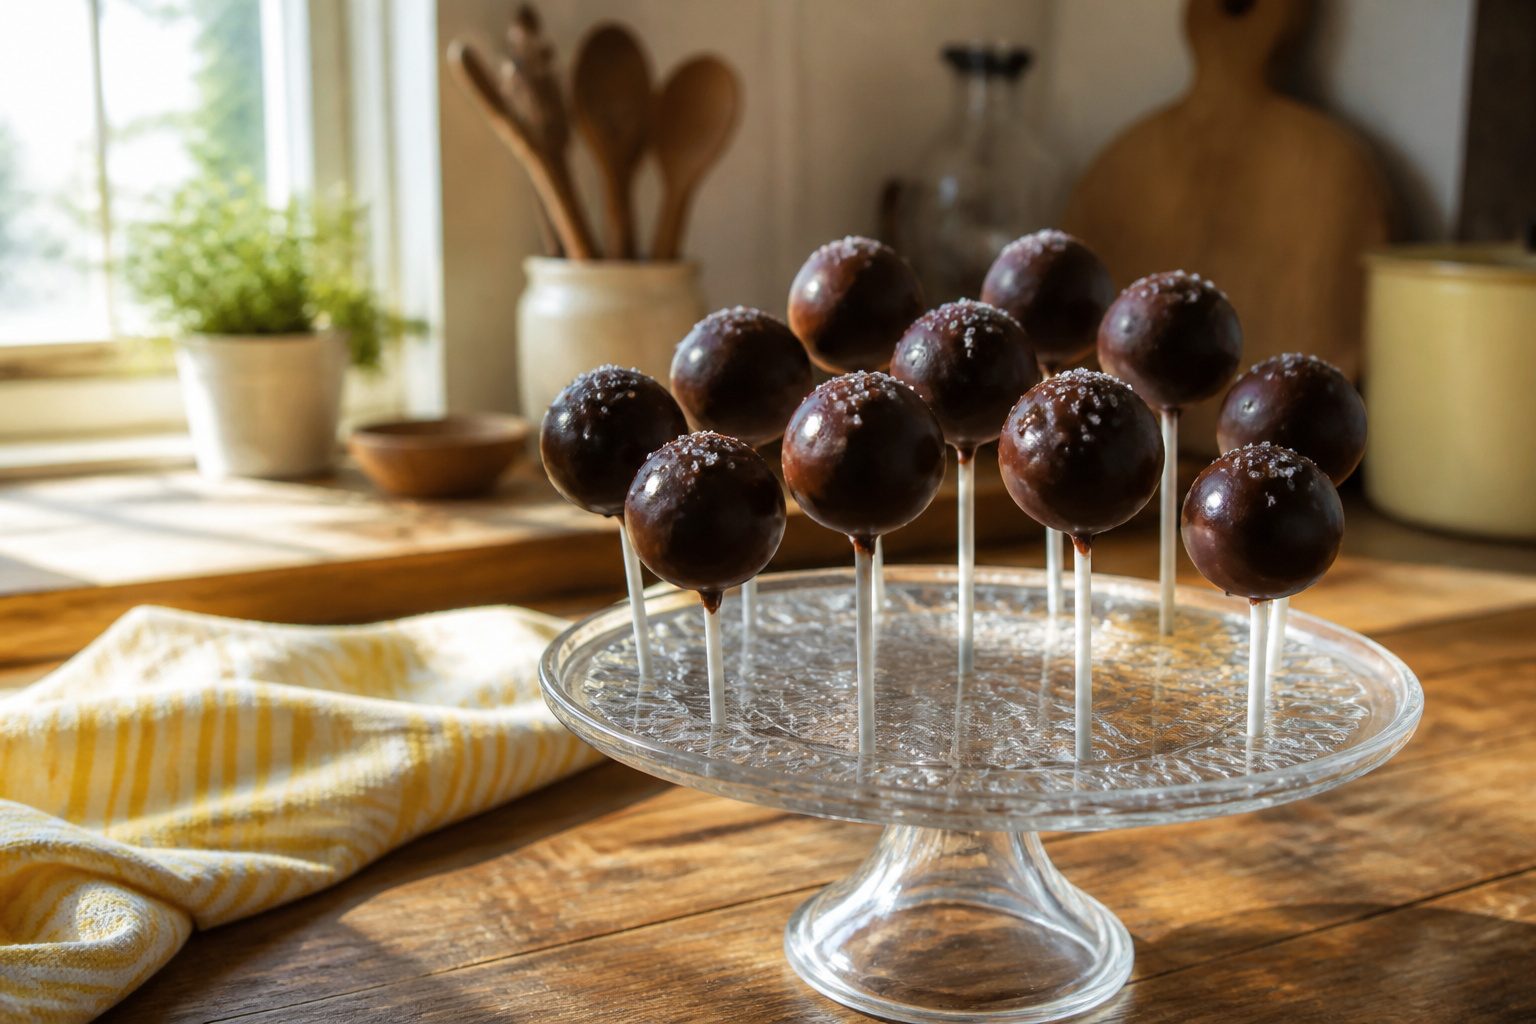
These taste like the dense, fudgy center of a bakery case truffle with a thin, crackly shell around it. The difference here is that store-bought frosting works fine, which saves a step without anyone tasting the difference.
Total time runs about two hours plus cooling, and the batch scales from 13 large pops up to 48 bite-sized ones depending on what you need.
Temperature control trips most people up: the cake balls must chill at least 30 minutes before dipping, and the melted coating has to cool slightly after heating, or thermal shock cracks the shell and the ball slides right off the stick.
What You Need

The ingredient list for chocolate cake pops is short, and most of it is already in a baker’s pantry. Store-bought frosting works fine here, which saves a step without anyone tasting the difference.
- Cake: One 9×13 inch chocolate cake, from a box mix or homemade. Either gives you the crumb texture you need.
- Frosting: About 1/2 cup of chocolate frosting.
- Candy melts or chocolate: 10 oz for coating. Candy melts melt smoothly and come in color options if you want something besides dark chocolate.
- Cake pop sticks: Standard lollipop sticks; pretzel rods work in a pinch if you want an edible handle.
- Edible decorations: Sprinkles, non-pareils, or whatever suits the occasion.
A tall, deep bowl makes dipping far easier than a wide shallow one. If the coating thickens while you work, a little EZ Thin Dipping Aid brings it back to a usable consistency.
Make the Cake Pops

- Bake the cake at 350°F for 30 to 40 minutes, until a toothpick comes out clean. Let it cool completely in the pan for 10 minutes, then remove and cool fully on a rack. Any chocolate cake works here, box mix or scratch.
- Crumble the cooled cake into fine crumbs with your hands. No large pieces should remain, or the balls will crack later.
- Mix in frosting, about ½ cup, until the crumbs hold together. Start with less and add by the tablespoon; too much frosting makes the mixture soggy and heavy. It should pack into a firm ball without sticking to your palms.
- Roll into 1-inch balls for standard pops, or size up: 1¼ inches yields about 48 pops, 1½ inches about 24, and 1¾ inches about 16. The full range runs 13 to 48 depending on ball size.
- Chill the balls 30 minutes to 2 hours until firm. The shorter end works in a pinch; the longer end gives you more insurance against cracking during dipping.
- Melt 10 ounces of candy melts or chocolate in a microwave-safe bowl per package directions. Pour into a tall cup deep enough to submerge a ball completely.
- Dip the end of each stick into the melted coating, then insert halfway into a chilled ball. This seals the stick to the cake so the ball does not slide off.
- Let the sticks set, about 10 minutes in the fridge, so the seal hardens before you dip the whole pop.
- Dip each ball fully into the coating. Swirl gently and tap off excess; a thin, even shell sets cleaner than a thick one.
- Decorate while the coating is still wet. Sprinkles adhere only to soft candy; wait even a minute and they bounce off.
- Stand the finished pops upright in a holder or styrofoam block until the coating firms, about 10 to 15 minutes. The fridge speeds this up if you are in a hurry.
Flavor Variations

The base recipe scales to almost any flavor you want, though some combinations need a specific frosting or crumb to hold together.
- Classic chocolate stays the most reliable starting point. Chocolate cake mix paired with chocolate instant pudding mix and chocolate buttercream gives the dense, fudgy center that dips cleanly. Wilton’s recipe builds the whole pop this way, and six sources count it as their default.
- Red velvet needs cream cheese frosting, not buttercream, or the tang reads flat. The color shows through white or pale coatings best.
- Cookies and cream folds Oreo crumbs into vanilla cake and frosting for the black-speckled look everyone recognizes. Two sources treat this as its own category rather than a mix-in.
- Mint chocolate works two ways: peppermint extract in the cake and frosting, or chopped Andes mints folded through the crumb. Two sources prefer the candy for texture.
- Salted caramel starts with yellow or vanilla cake, caramel frosting, and a pinch of flaky salt over the coating. Two sources suggest this; I would keep the salt on the outside only, since too much inside breaks down the stick.
Each variation keeps the same 24-pop yield and the same 2-tablespoon scoop size for the cake balls.
Candy Melts vs. Chocolate Chips
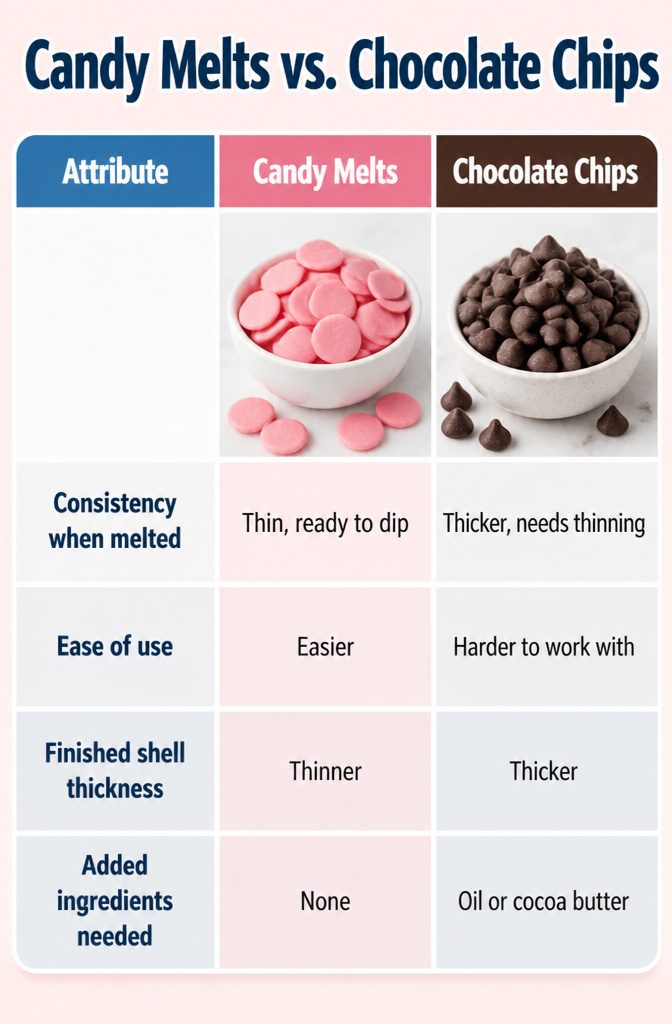
Candy melts win for dipping because they are already thinned to a flowing consistency that coats evenly and sets to a smooth shell without extra steps.
Chocolate chips can work in a pinch, but the mixture runs thicker and sets into a heavier, more brittle coating.
If chips are what is in the pantry, stir in a little oil or a spoonful of cocoa butter to loosen them until the drip runs off the spoon in a ribbon rather than a blob.
| Attribute | Candy Melts | Chocolate Chips |
|---|---|---|
| Consistency when melted | Thin, ready to dip | Thicker, needs thinning |
| Ease of use | Easier | Harder to work with |
| Finished shell thickness | Thinner | Thicker |
| Added ingredients needed | None | Oil or cocoa butter |
I keep both around, but I reach for candy melts when the cake pops are destined for a party. The quicker dip means less chance of crumbs loosening into the coating and turning it grainy.
Storage
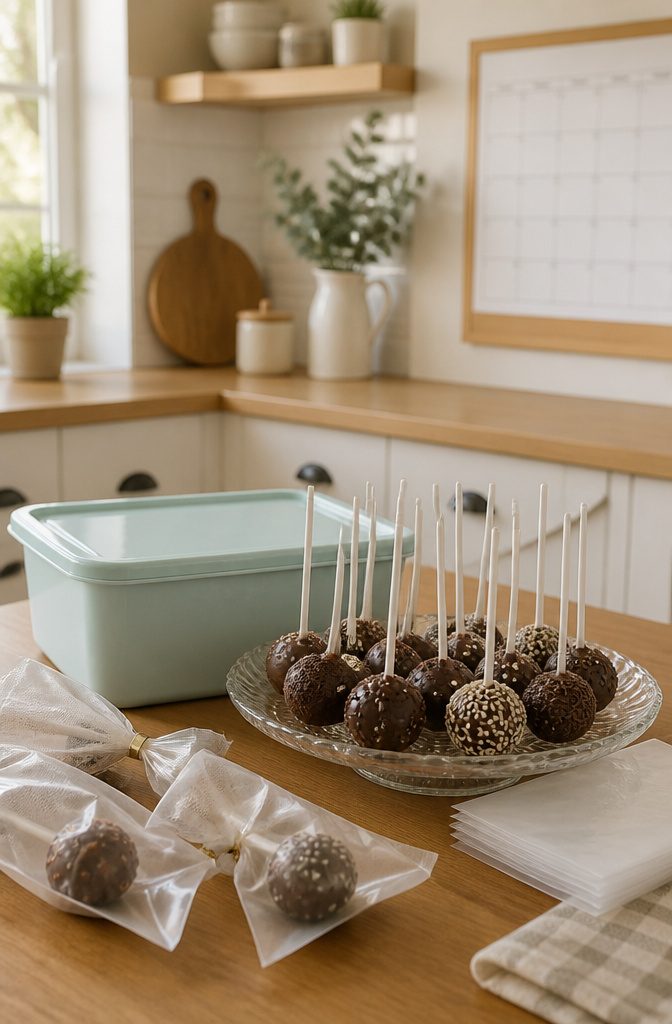
Chocolate cake pops keep at room temperature for 1 to 2 weeks, which is the simplest route if your decorations are finished and you plan to serve them soon.
The refrigerator buys you more time, up to four weeks, but the cold creates condensation that can bleed or warp candy coatings and piped details. I treat refrigeration as a trade-off: longer storage against the risk of ruined decorations.
If I need the extra weeks, I store the pops individually bagged in a single layer inside an airtight container, then let them come back to room temperature before serving so the coating firms up again and the texture stays right.
What Goes Wrong and Why
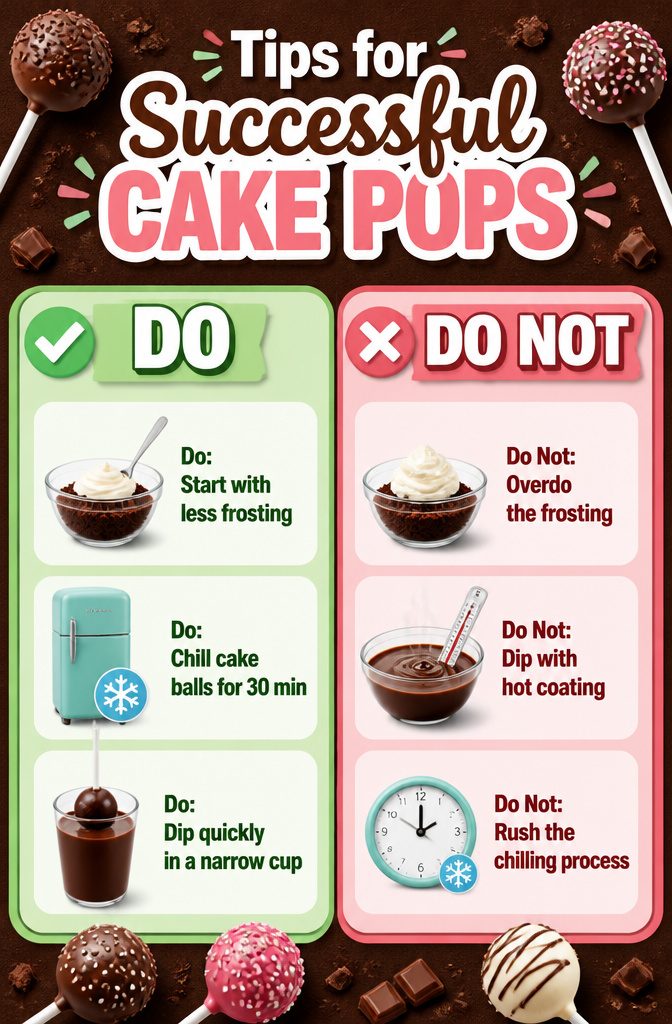
The two problems that trip up most home bakers with chocolate cake pops both come down to temperature and texture. Cake balls fall apart when the mix gets too wet, which happens fast if you overdo the frosting.
Most cakes are already moist, so start with just a few spoonfuls of frosting and work it in with your hands so you can feel when the crumbs still hold some grit but press into a firm ball.
If the mixture goes slack, add more crumbs rather than hoping a freeze will fix it.
That first chill matters too: at least 30 minutes in the refrigerator before you try to dip, or the warm coating will soften the ball and it’ll slide right off the stick.
Cracked or slipped coating is the same story from the other direction. Dipping while the coating is too hot against too-cold cake creates thermal shock, so let the melted coating cool slightly after heating before you start.
The ball should be cold through, the coating warm but not piping, and the dip quick and deep in a narrow cup so you submerge it cleanly without twirling.
Frequently Asked Questions
Can I use chocolate chips instead of candy melts for cake pops?
Yes, but chocolate chips melt into a thicker mixture that is harder to work with and sets into a heavier, more brittle shell.
Add a little oil or cocoa butter to thin them until the coating drips off your spoon in a ribbon rather than a blob. Candy melts are the easier choice because they flow smoothly and set thin without extra steps.
How do I store my cake pops?
Keep finished chocolate cake pops at room temperature for 1 to 2 weeks. The refrigerator extends storage to 4 weeks, but cold air creates condensation that can bleed or warp candy coatings and decorations.
If you do refrigerate, bag pops individually in a single layer inside an airtight container, then let them return to room temperature before serving so the coating firms back up.
How do I prevent my cake pops from falling apart?
Watch the frosting-to-cake ratio and chill the balls before dipping.
Start with less frosting than you think you need and work it in by hand so you can feel when the crumbs hold together into a firm ball without sticking to your palms.
If the mix goes slack, add more crumbs rather than more chill time. Refrigerate the shaped balls at least 30 minutes so they stay solid when they hit the warm coating.