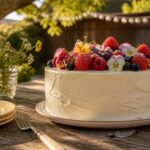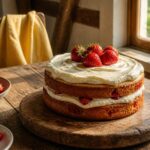

These individual vanilla layer cakes give you the soft, familiar crumb of a full-sized birthday cake with one difference: each person gets their own three-layer stack, no slicing required.
The whole thing takes about 50 minutes from butter to frosting, but only if you treat the cooling time as fixed, not optional. A warm cake will crumble under the 3-inch cutter and slide the buttercream right off.
What These Mini Cakes Are and When I Make Them

A mini cake recipe like this one starts with a single sheet of vanilla cake baked in a standard 13×18 inch pan, then cut into rounds with a 3-inch circle cutter and stacked into individual three-layer cakes.
Each one gets its own coat of buttercream, so no slicing at the table and no fighting over the corner piece.
The sheet bakes in 18 to 20 minutes at 350 degrees, which is fast enough that I can knock out a batch on a weeknight if I need something for a party the next day.
I reach for this method when I want variety without committing to one big flavor, or when I know leftovers will sit in my fridge until they dry out.
One batch yields 12 to 15 circles, enough for four or five finished minis with a few layers to spare.
The ingredients are standard grocery-store butter, flour, sugar, and eggs. No specialty pans, no ring molds, no six-inch tins to store.
Ingredients
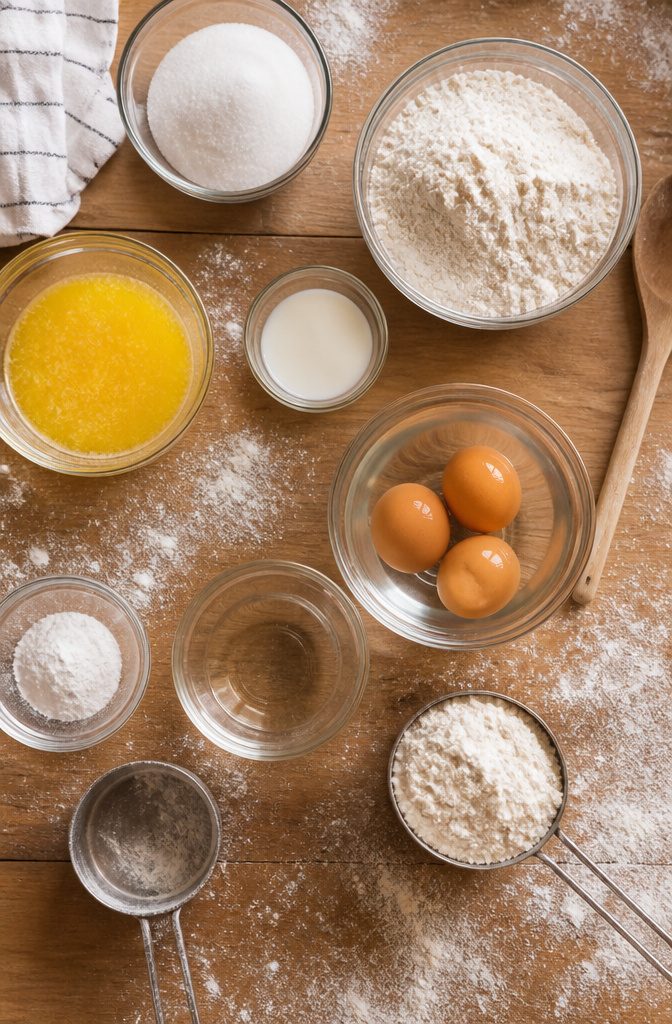
The texture of a small cake depends on two details you cannot skip: unsalted butter and eggs need to sit out until they lose their chill. Cold butter will not cream properly, and cold eggs will curdle the batter.
For the cake:
- 3 cups all-purpose flour
- 1 cup unsalted butter, softened
- 1 3/4 cups granulated sugar
- 4 large eggs, room temperature
- 1 tablespoon baking powder
- 1/2 teaspoon salt
- 1 tablespoon vanilla extract
- 1 cup whole milk
For the buttercream:
- 1 cup unsalted butter, softened
- 4 cups confectioner’s sugar
- 1/3 cup heavy cream
- 2 teaspoons vanilla extract
I keep one stick of butter out overnight for the cake and set the eggs in a bowl of warm water for ten minutes while I measure everything else.
The sugar in the buttercream is the same weight as the flour in the cake, which makes scaling easy to remember.
Method
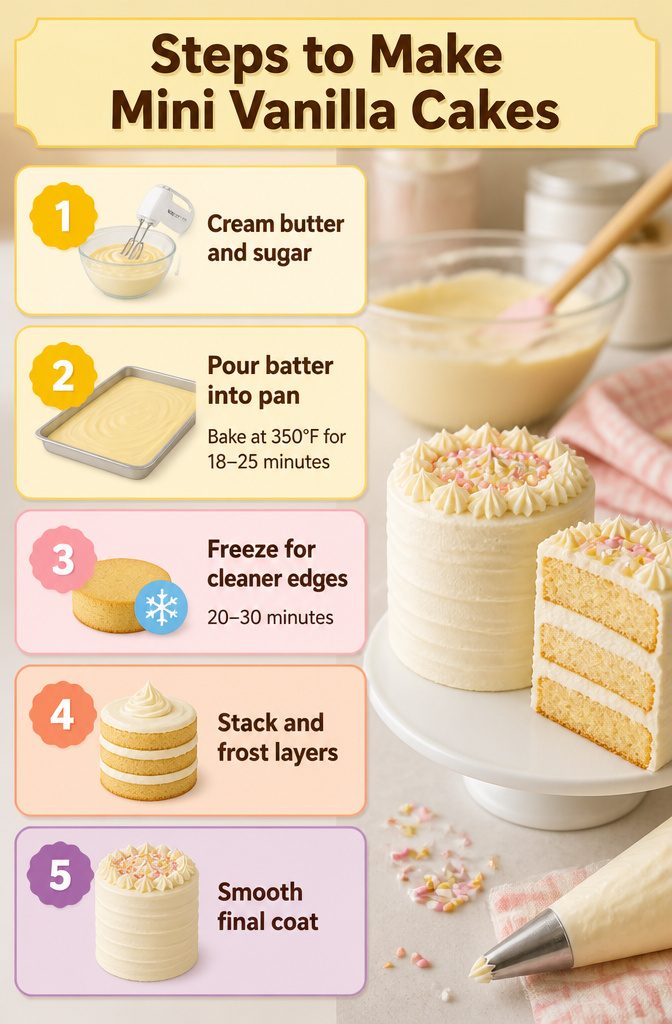
- Cream room-temperature butter and sugar until the mixture turns fluffy and pale, about 3–4 minutes. Beat in the eggs and vanilla until the batter looks smooth, then alternate adding the dry ingredients and milk in three additions, ending with flour. The batter should pour thickly but level itself in the pan.
- Pour into a greased 13×18 inch sheet pan and bake at 350°F for 18–25 minutes, checking at 18 with a toothpick. A thinner layer crosses into done faster; a slightly thicker one needs the full 25. Let the cake cool completely on a wire rack before you touch it with a cutter. Warm cake crumbles and compresses.
- For cleaner edges, freeze the cooled cake for 20–30 minutes. A cold cake firms up enough that a 3-inch round cutter punches through cleanly instead of dragging. You should get 12–15 circles from a standard half-sheet, which sets you up for 4–5 mini cakes with three layers each.
- Stack three rounds per cake with a thin layer of buttercream between them. The frosting ratio that works here is roughly 1 part butter to 3–4 parts powdered sugar, loosened with heavy cream until it spreads without tearing. Apply a crumb coat first: pipe it on if the layers feel wobbly under a spatula, then chill the cake 15 minutes to set the buttercream before the final coat. That cold stop is what keeps crumbs from migrating into your finish layer.
- Spread the final coat smooth with an offset spatula, scraping the sides with a comb or scraper pressed against the cake board for a straight edge. Decorate with piped stars, sprinkles, or small fondant accents. For piping that stays soft, keep a cup of very hot water nearby to dip the bag in when the buttercream starts to stiffen.
Yield and Timing
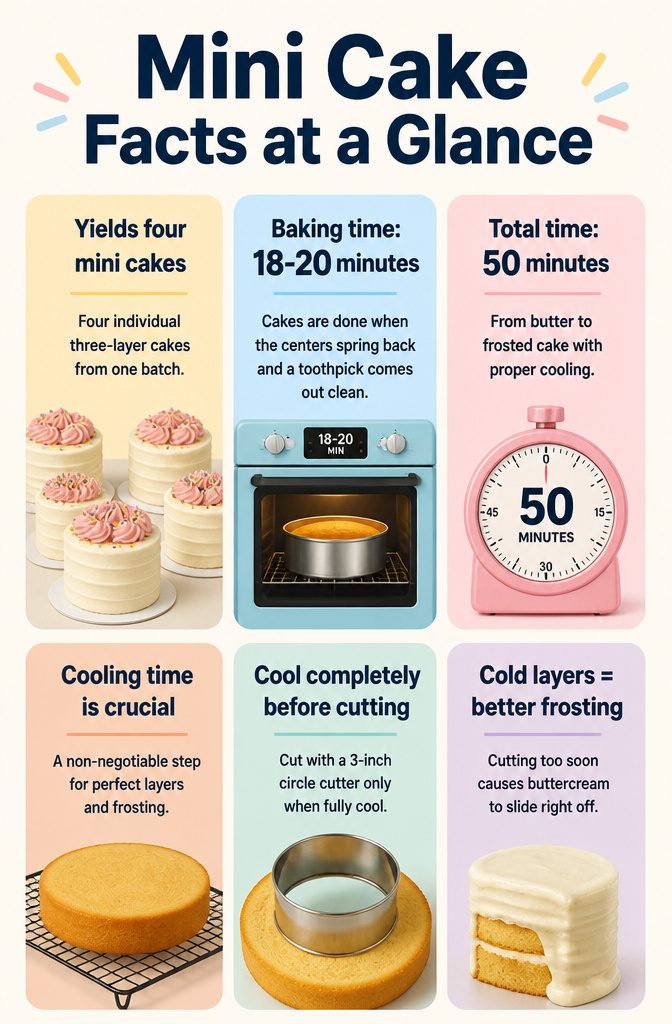
One batch of this batter fills four 4-inch mini cake layers, which stacks into four individual three-layer cakes once you cut and assemble.
The oven stays on for 18 to 20 minutes; the cakes are done when the centers spring back under a light touch and a toothpick comes out clean.
Total time from butter to frosted cake lands around 50 minutes, but only if you respect the cooling stage.
The layers must sit until completely cool before you cut them with a 3-inch circle cutter and add frosting, or the buttercream slides right off. I treat that cooling time as non-negotiable, not a suggestion.
Flavor Variations
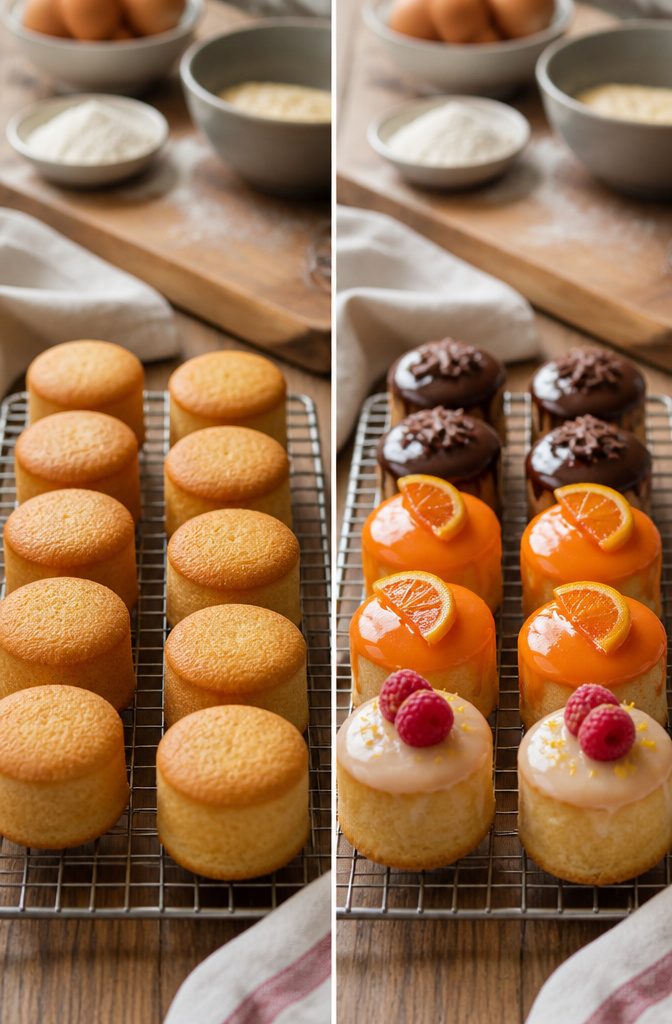
I keep this base batter in rotation because it takes additions so well. A few tweaks turn one reliable mini cake recipe into half a dozen distinct desserts.
- Vanilla stays my default: the crumb stays soft and neutral enough to pair with almost any frosting, which matters when I am baking on a weeknight and the pantry decides the rest
- Chocolate demands Dutch-processed cocoa for depth; the batter tightens slightly, so I add a spoonful of extra liquid to keep the texture open, and the result carries ganache without turning heavy
- Lemon, raspberry, and blood orange all work best as reductions or concentrated zests rather than loose juice, which can throw off the structure in a small cake; blood orange is the most fragile of the three and needs the lightest hand
- Individual Bundt molds turn out elegant with a thin glaze, though they require greasing in every crevice or the release fails
- Multiple layers with filling look impressive but the ratio shifts toward frosting; I save this build for birthdays and keep single layers for casual dinners
Chai and coconut sit in my back catalog. Chai needs a long steep in warm milk or the spices read dusty, and coconut flour absorbs liquid unpredictably, so I reach for it only when I have time to test.
Frosting and Consistency

A 1 cup butter to 4 cups powdered sugar ratio gives you the stiffest buttercream that still spreads without tearing the cake.
Beat the butter on high speed for about seven minutes first; it needs to be really soft and lighter before the sugar goes in.
Add the sugar in three portions, starting on low so you don’t wear it, then whip on high until smooth.
A splash of milk at the end adjusts spreadability, and a quarter cup of Nutella, jam, or a teaspoon of emulsion flavors the whole batch without thinning it.
When the cake is warm or the crumbs are loose, I pipe the crumb coat instead of spreading it.
Less spatula contact means less friction, and the thin layer of buttercream traps the crumbs before they migrate into the finish coat. Chill for twenty minutes until the frosting firms up, then apply the final layer.
Ganache wins over buttercream when I want a shell that sets hard and glossy, or when the cake itself is rich enough that more butter feels excessive.
Warmed cream poured over chopped chocolate, stirred until silky, pours smooth at room temperature and flavors cleanly with a shot of espresso or a scraped vanilla bean.
Storage and Freezing
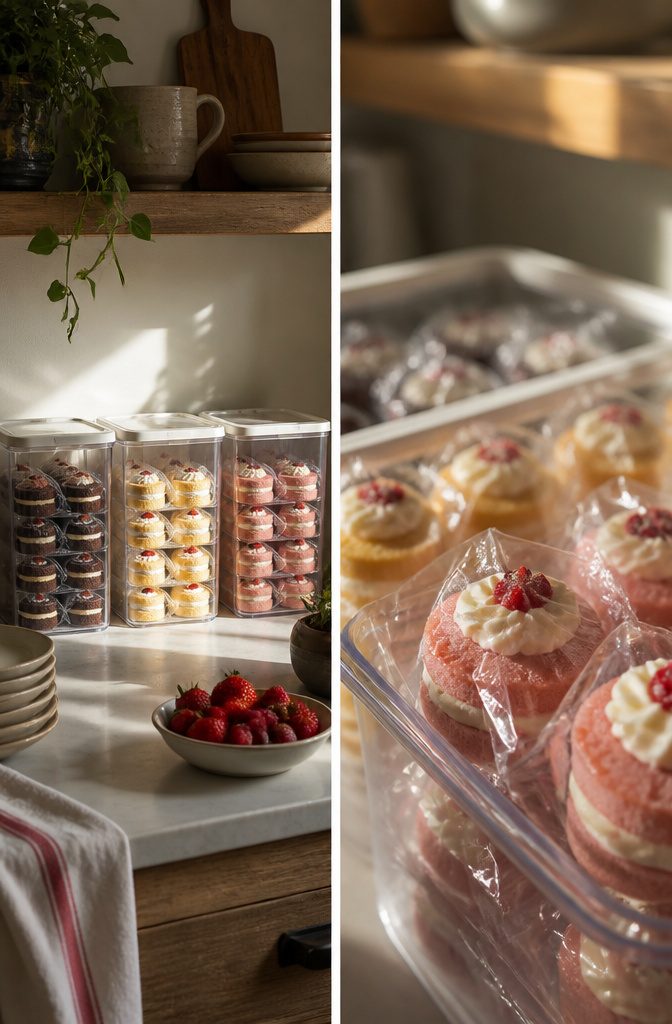
An airtight container at room temperature keeps the crumb soft for 1 to 2 days, which is my preferred way to store this mini cake recipe when I’m serving it soon.
Refrigeration extends that window to 5 days, though the cold firms the crumb and dulls the buttercream’s silkiness. Let it sit out for an hour before slicing if you’ve gone that route.
For longer keeping, wrap the layers or the finished cake tightly in plastic, then freeze for up to 2 months.
I skip freezing frosted cakes whenever I can; the thaw never quite restores the frosting’s original finish, and a mini cake is small enough to bake fresh.
If you do freeze frosted, flash-freeze uncovered first so the wrap doesn’t smudge the design, then layer on plastic, foil, and a final bag to block freezer burn.
Pull it out 12 hours before you need it and let it come to room temperature still wrapped, so condensation lands on the wrapping, not the cake.
Substitutions and Equipment

A specialty pan isn’t required for this mini cake recipe.
A standard half sheet (13×18 inches) or quarter sheet works fine; bake the batter thin, then cut rounds with a 3-inch biscuit cutter once the cake is fully cool. The layers come out neat and the cake stays stable.
Here is what else you can adjust:
- No cake flour: All-purpose flour substitutes straight across. Cake flour gives the softest crumb, but the difference is texture, not structure.
- No buttermilk: Stir 1 tablespoon of white vinegar or lemon juice into 1 cup of whole milk and let it sit five minutes.
- Dairy-free: I have not tested this recipe with plant milk or oil-based butter. The fat balance matters here, so I would not promise results I have not baked.
- Mini cake pans: Optional. If you own them, use them. If not, the sheet-and-cutter method is the one I reach for.
Frequently Asked Questions
What is the best way to frost mini cakes?
Pipe the crumb coat instead of spreading it, since less spatula contact means less friction on delicate layers.
Chill the cake 15 to 20 minutes to set the buttercream, then apply the final coat. Use an offset spatula for the finish, scraping the sides against the cake board with a comb or scraper for a straight edge.
How do I store mini cakes?
Keep them in an airtight container at room temperature for 1 to 2 days to preserve a soft crumb and silky buttercream.
Refrigeration extends storage to 5 days but firms the crumb and dulls the frosting; let the cake sit out for an hour before serving if you chill it.
Can I freeze mini cakes?
Yes, wrap layers or finished cakes tightly in plastic and freeze for up to 2 months.
I skip freezing frosted cakes when possible since thawing never fully restores the frosting’s original finish; flash-freeze uncovered first if you must, then layer on plastic, foil, and a bag.
Pull from the freezer 12 hours before serving and thaw still wrapped so condensation collects on the wrapping, not the cake.
How long do mini cakes take to cook?
The sheet cake bakes at 350°F for 18 to 25 minutes, and 18 to 20 minutes usually works best for a thinner layer.
Check at 18 minutes with a toothpick; a slightly thicker pour may need the full 25. Total time from butter to frosted cake runs about 50 minutes if you respect the non-negotiable cooling stage before cutting and frosting.