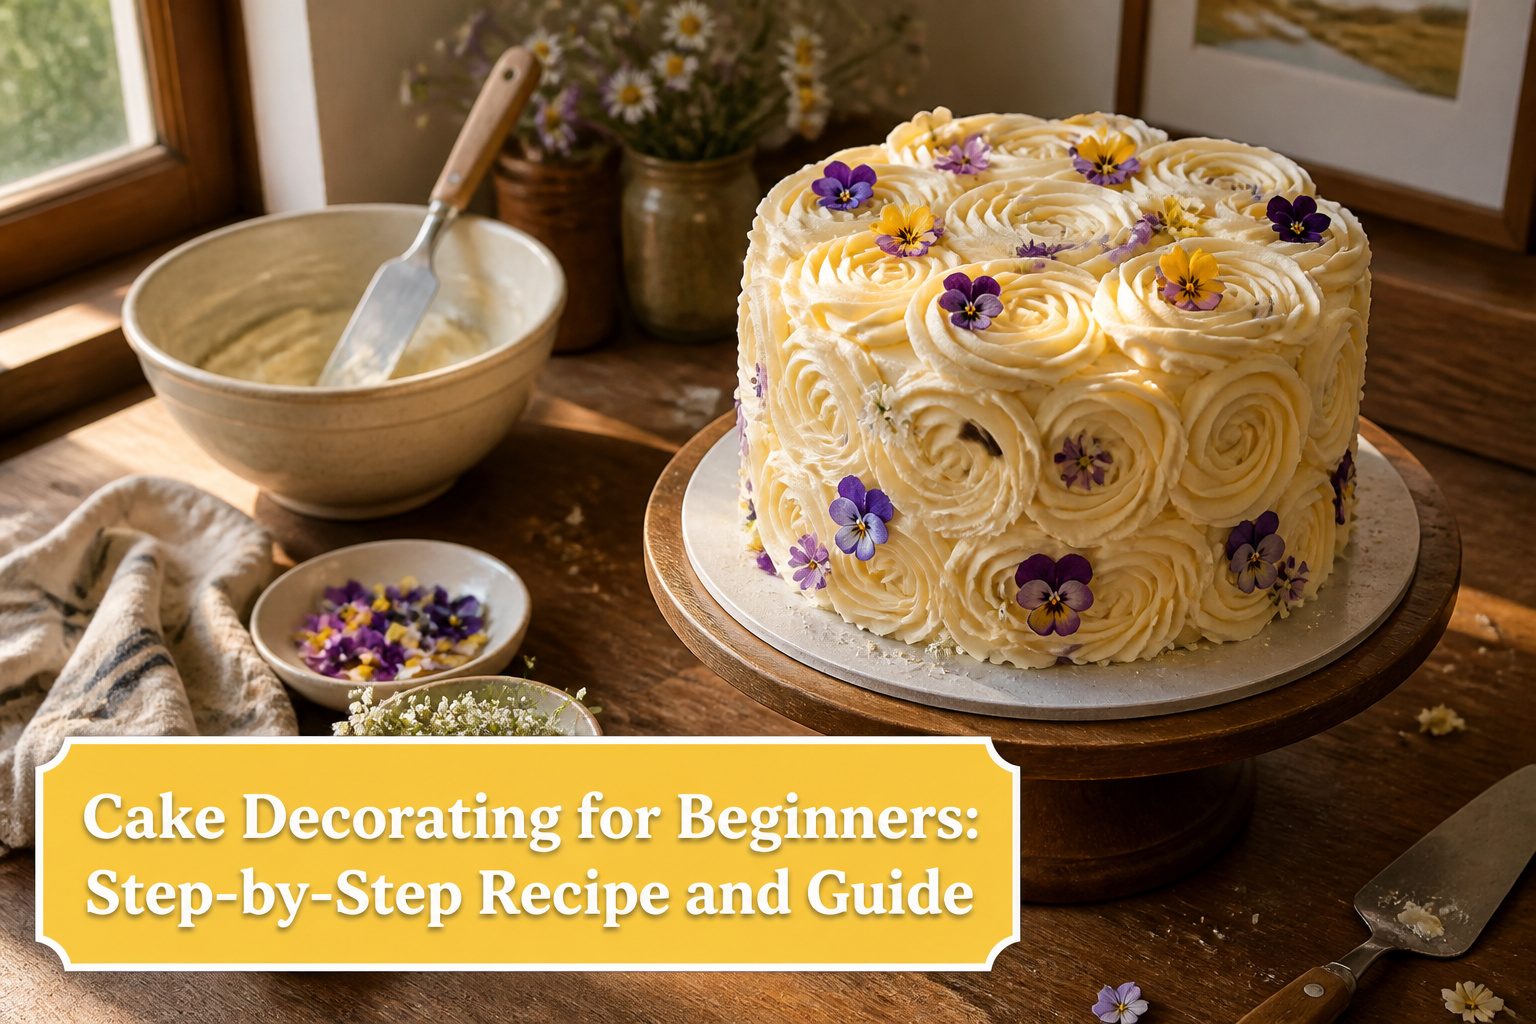
American buttercream sets up firm and sweet, forgiving enough that a re-piped rosette still holds its shape; count on about an hour of active work once your layers are cool.
Temperature is the real problem: warm cake melts the frosting into streaks and pulls crumbs free, so patience at the cooling stage is the single thing that separates a clean finish from frustration.
Ingredients
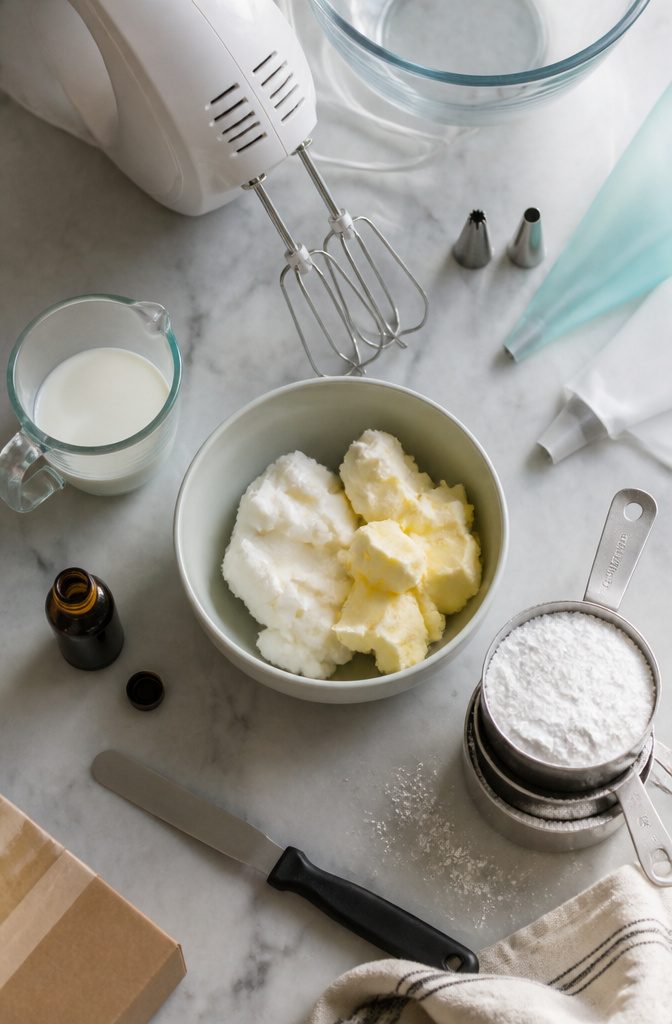
Gather everything before you start. The cake itself can be a box mix or from scratch; what matters here is the frosting and the tools.
For the American buttercream frosting:
- ½ cup solid vegetable shortening
- 1 stick softened butter
- 1 tsp clear vanilla extract
- 4 cups sifted confectioner’s sugar
- 2 Tbsp milk
That single batch yields about 4 cups, which I find works for a basic finish. For a 2-layer cake you’ll want 5 cups total; scale up to 6–7 cups for a 3-layer cake.
I make one and a half batches when I’m doing a taller build, because running short mid-project is the fastest way to turn decorating into frustration.
Tools you’ll need:
- Offset spatula (the small one will do; it’s for keeping your fingers out of the buttercream)
- Serrated knife or cake leveler
- Turntable (a plastic craft-store model works, or a lazy susan with a flat top)
- Disposable piping bags, plus a 2F or Wilton 1M star tip for rosettes
- Cake scraper
- Electric mixer
Method
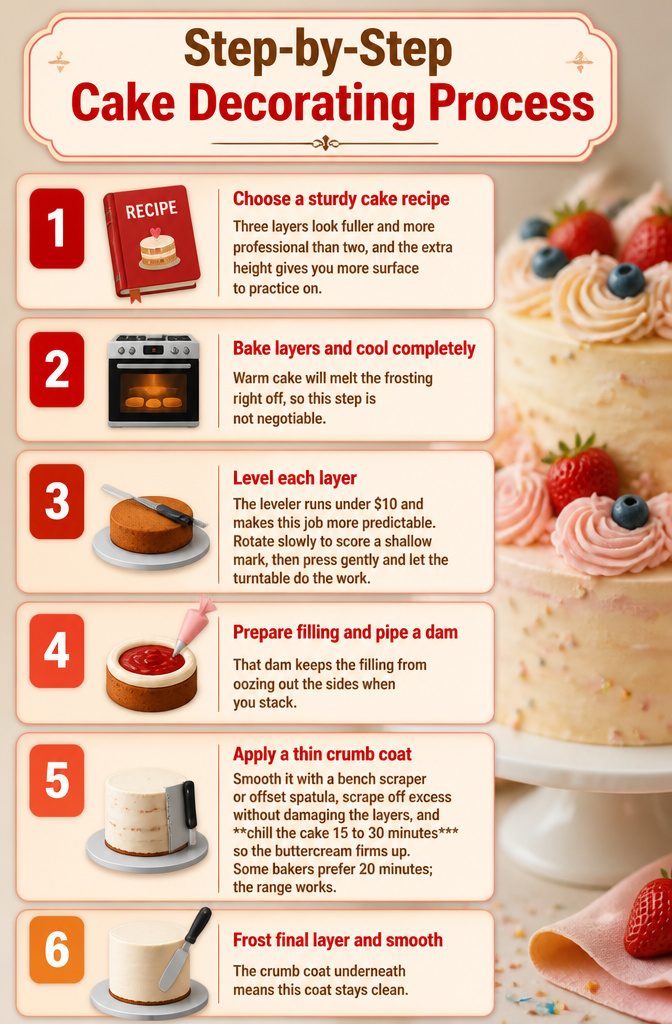
- Choose a sturdy cake recipe that can hold up under frosting and stacking. Three layers look fuller and more professional than two, and the extra height gives you more surface to practice on.
- Bake the layers and cool them completely. Warm cake will melt the frosting right off, so this step is not negotiable.
- Level each layer with a serrated knife or a cake leveler. The leveler runs under $10 and makes this job more predictable. Place the layer on a turntable, hold the knife straight out with your elbow tucked, and rotate slowly to score a shallow mark around the edge first. Repeat the rotation, pressing gently this time, and let the turntable do the work.
- Prepare your filling and pipe a frosting dam around the edge of each layer before you add the filling. That dam keeps the filling from oozing out the sides when you stack.
- Apply a thin crumb coat to seal in the stray crumbs. Smooth it with a bench scraper or offset spatula, scrape off excess without damaging the layers, and chill the cake 15 to 30 minutes so the buttercream firms up. Some bakers prefer 20 minutes; the range works.
- Frost the final layer and smooth it the same way. The crumb coat underneath means this coat stays clean.
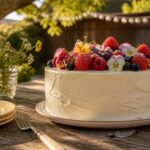
- Decorate with piping bags and tips, sprinkles, or fresh fruit. The finish does not have to be elaborate to look intentional.
Frosting Types Compared

American buttercream is the frosting you want when you are learning to decorate. It holds its shape at room temperature, takes color and flavor without fuss, and forgives a re-piped rose or a scraped edge.
The sugar content is high, which keeps it stable for hours on a counter, and the recipe is simply butter beaten with powdered sugar and a splash of milk or cream.
Meringue buttercreams, Swiss and Italian, give a silkier finish and less sweetness. They require heating egg whites and sugar to a precise temperature before whipping, so the stability is excellent once made, but the process is not beginner-friendly.
Cream cheese frosting spreads in fluffy swoops and tastes tangy, yet it softens quickly and must stay cold, which limits how long your decorated cake can sit out.
For a first-timer, the options break down like this:
| Frosting | Stability at Room Temp | Ease for Beginners | Best For |
|---|---|---|---|
| American buttercream | High; holds for hours | Very easy; no cooking | Piping, rosettes, color work |
| Swiss meringue buttercream | High once set | Moderate; thermometer needed | Smooth sides, wedding-style finish |
| Italian meringue buttercream | High once set | Moderate; hot sugar syrup | Silky finish, detailed piping |
| Cream cheese frosting | Low; needs refrigeration | Easy to spread, hard to pipe | Carrot cake, swooped finishes |
American buttercream wins for decorating because it gives you time to fix mistakes.
You give up some sweetness and get a slightly stiffer look in return. Try meringue buttercreams after you can reliably pipe a shell border, and save cream cheese frosting for when you are serving immediately from the refrigerator.
Essential Tools

A cake turntable is the one tool I would not decorate without. It spins the cake so the right side always faces you, and the extra height lets you stand straighter than balancing a plate on the counter.
A lazy susan works in a pinch, but the turntable is worth the shelf space.
The rest fall in this order for me:
- Offset spatula. Non-negotiable for keeping your fingers out of the buttercream while you spread. The slight angle gives you control you cannot get with a dinner knife.
- Serrated knife or cake leveler. You need one or the other to shave the dome off baked layers so they stack flat. The cake leveler costs under $10 and removes the guesswork if your hand is not steady with a knife.
- Piping bags and tips. Nice-to-have for a first cake, but essential once you want anything beyond a smooth finish. Disposable bags are my preference; a zip-top bag with the corner snipped works temporarily. A star tip like the Wilton 1M or 2D handles most beginner decorations.
- Bench scraper. The straight edge smooths the crumb coat and the final frosting. A long icing spatula can substitute, though the scraper sits flatter against the sides.
- Cake platter or board. You need something rigid to build on, whether a dedicated board or a heavy serving plate.
- Parchment paper. Keeps your platter clean while you work and slides out cleanly after.
Common Mistakes
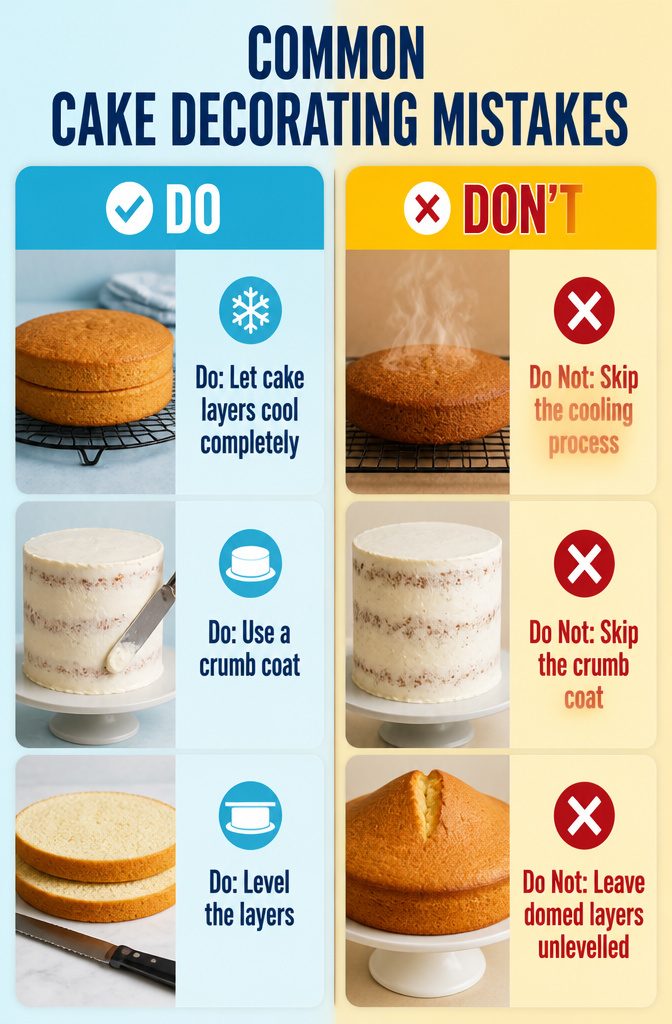
Three mistakes still catch me even now, and each one has a clear fix once you know what to watch for.
A warm cake will ruin your finish before you start. Buttercream softens against anything above room temperature, so crumbs pull free and the frosting slumps into streaks.
Let your layers cool for at least an hour after baking; if you are pressed for time, 20 minutes in the freezer works in a pinch. The layers should feel cool to the touch on the bottom, not just the top.
Skipping the crumb coat is the fastest way to end up with speckled sides.
That thin layer of frosting locks stray crumbs in place, and 15 to 20 minutes in the fridge firms the buttercream enough that your final coat goes on clean.
Perfection is not the goal here; scrape it thin, chill it, and move on.
Domed layers left unlevelled build a cake that leans or cracks down the middle. A long serrated knife and a gentle sawing motion take the crown off each layer.
Lay them flat, and your stack stays stable. If a cake still shifts after levelling, a skewer through the center and another chill will hold it until serving.
Simple Decorating Techniques
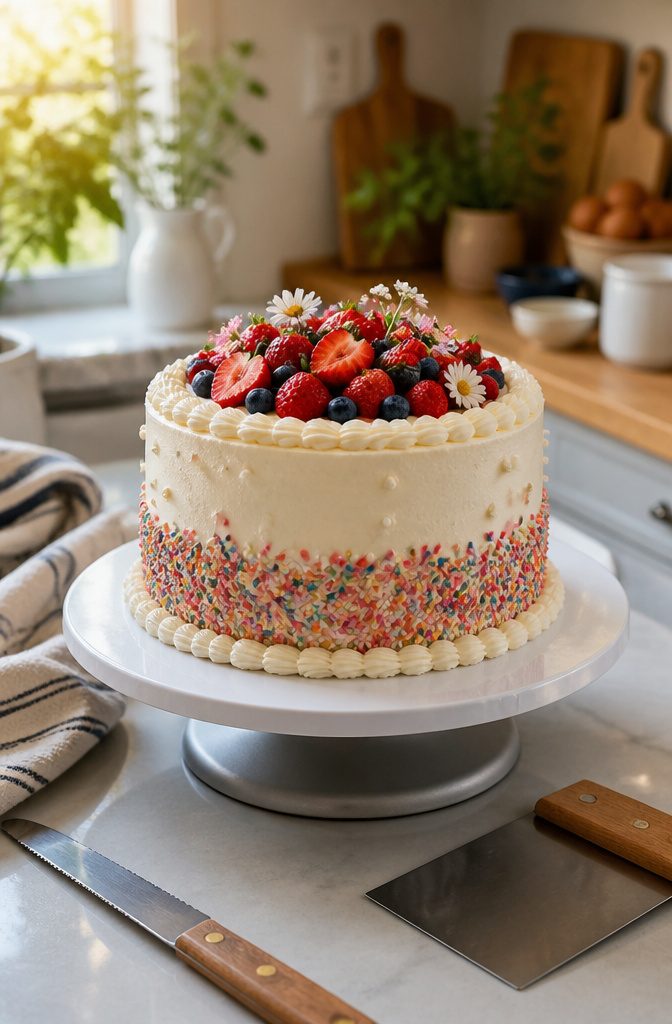
Piping is the technique that separates a decorated cake from a frosted one, and a plain round tip is the only one a beginner needs.
I use it for borders, writing, and simple dots that read as polka dots from across the room. Star tips make swirls and rosettes, but they are a second purchase, not a first.
Sprinkles work on any buttercream surface while it is still soft. Press them into the base of the cake for a skirt effect, or scatter them across the top.
For large sprinkles on the sides, pipe a small dot of frosting and press each one into place so it adheres. Finely chopped nuts or crushed cookies substitute for sprinkles when you want texture instead of color.
Fresh fruit and edible flowers both need organic sourcing so no chemical residue reaches the cake.
Roses, pansies, violets, lavender, magnolias, chamomile, and marigolds are safe choices. Fruit is faster to arrange and does not require the same verification, so I reach for berries first and add flowers only when the occasion calls for it.
Buttercream accepts all of these finishes. The only rule is timing: apply while the frosting crusts but has not fully set, usually within fifteen minutes of the final coat.
Frequently Asked Questions
What type of frosting is best for decorating a cake?
American buttercream is the best frosting for beginners learning to decorate. It holds its shape at room temperature for hours, accepts color and flavor without fuss, and lets you re-pipe a rose or smooth an edge if you slip.
The high sugar content keeps it stable while you work, and there is no cooking involved.
How do you prevent the filling from oozing out?
Pipe a frosting dam around the edge of each cake layer before you add the filling.
That ring of buttercream acts as a barrier that keeps jam, curd, or other fillings from sliding out the sides when you stack the next layer on top.
Use the same frosting you will put on the outside of the cake so the texture and flavor match.
How long should I chill the cake before frosting?
Chill the cake for 15 to 30 minutes after applying the crumb coat so the buttercream firms up.
Some bakers prefer 20 minutes, and the full range works. A chilled cake is sturdier to handle and the cold hardens the frosting enough that your final coat goes on clean without picking up stray crumbs.
What is the 1-2-3-4 cake rule?
While the recipe here uses a box mix or scratch cake of your choice, a sturdy cake that can hold stacking and frosting is what matters for decorating practice.
What are the 7 different cake decorating techniques?
The methods covered include leveling and stacking layers, applying a crumb coat and final frost with a spatula and bench scraper, piping with round and star tips, adding sprinkles or crushed toppings, and arranging fresh fruit or edible flowers.
Piping borders, writing, dots, rosettes, and swirls are all achievable with a single round or star tip.
What do bakers squirt on cakes before icing?
The preparation steps it covers are fully cooling the baked layers, leveling them with a knife or cake leveler, and applying a thin crumb coat of frosting to seal in crumbs before the final coat.
A warm cake is the main enemy of clean frosting, so cooling is the critical pre-icing step.