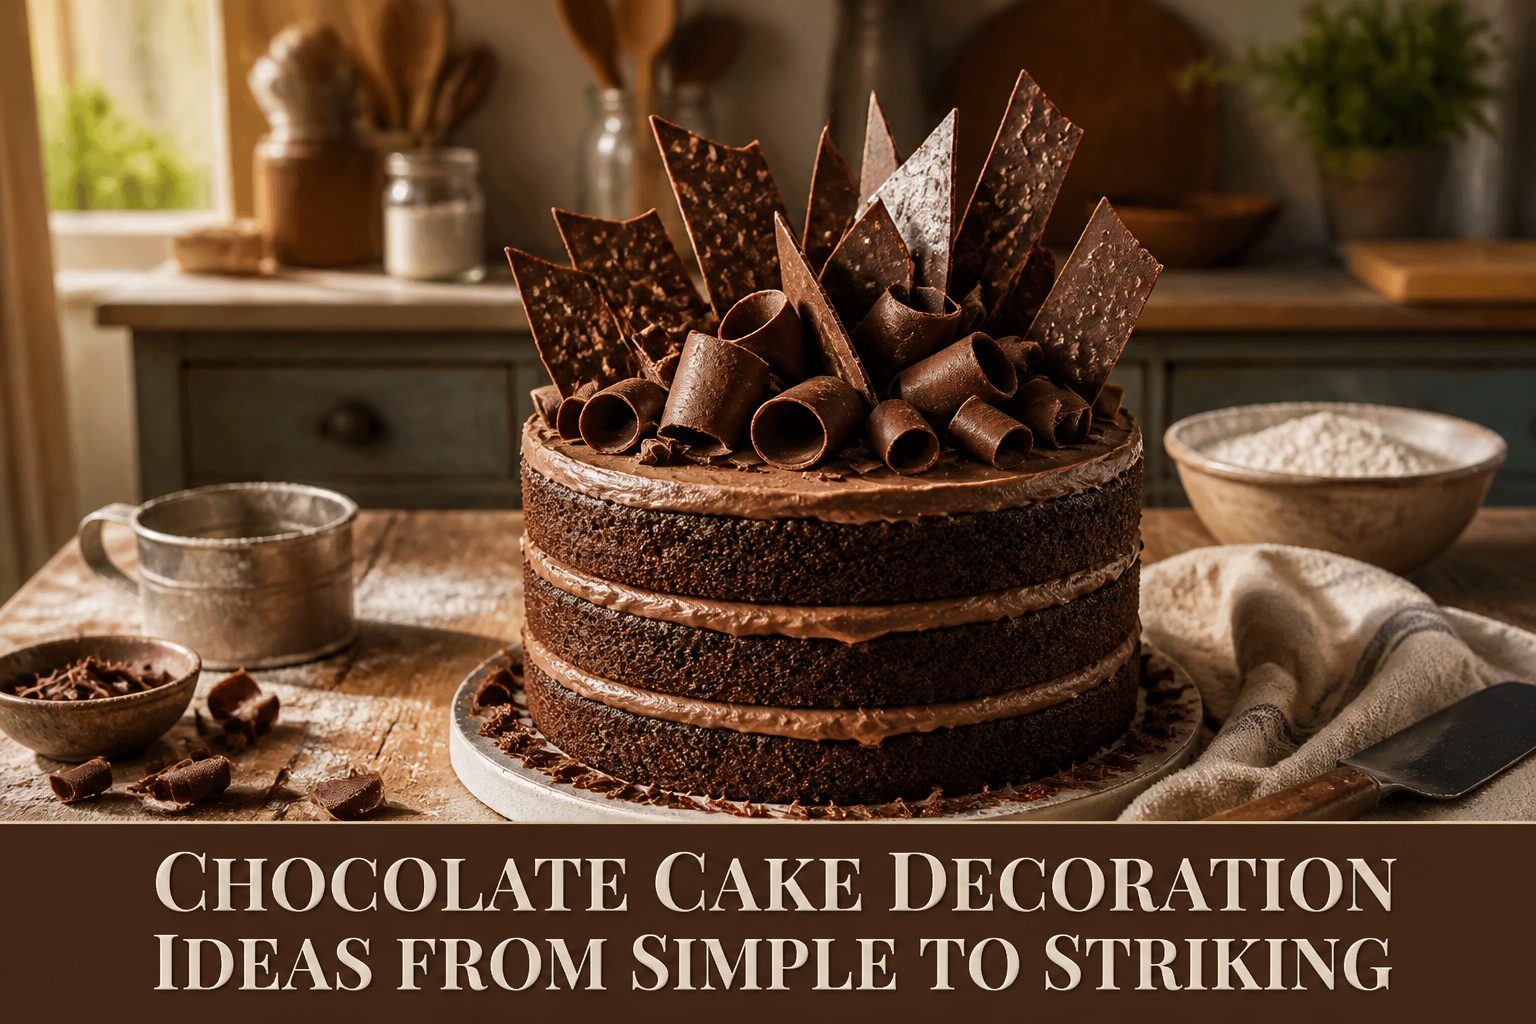
The effort ranges from a single chocolate bar and a spatula to tempered sails clipped with a clothespin while the chocolate is still soft.
What decides which technique is yours is not skill but temperature control: cold chocolate cracks into neat shards, room-temperature chocolate yields soft curls, and a ganache drip only stops where you want it if the cake beneath is fully chilled.
Even the showpiece chocolate sail, curved like it caught wind in a pastry-shop window, rests on knowing exactly when to pull it from the fridge before it turns brittle and snaps.
1. Chocolate Sails
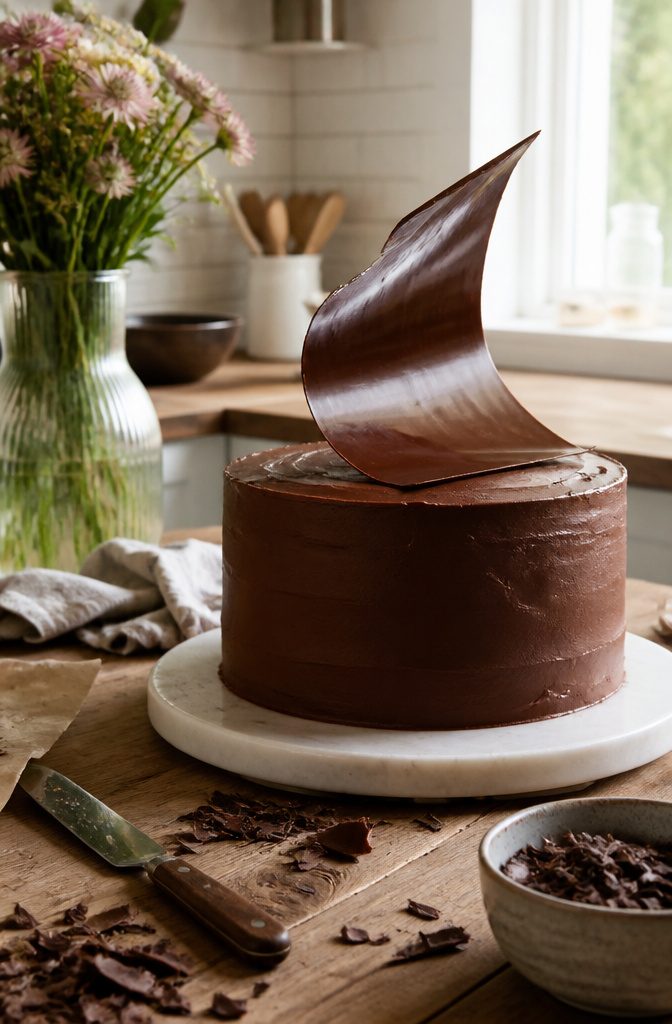
A chocolate sail turns a plain frosted cake into something that looks like it came from a pastry shop, and the whole thing rests on one move: curving the parchment while the chocolate is still soft.
I spread tempered chocolate or compound chocolate onto parchment paper in a layer thin enough to bend but thick enough to hold its shape, about the depth of a heavy postcard.
While it is still liquid, I gather one edge of the parchment and clip it with a clothespin so the sheet curves like a sail catching wind.
Into the fridge it goes for 10 minutes, no longer, or the chocolate turns brittle and snaps when I peel the paper back.
The peeling itself matters. I start from a corner and pull the parchment away slowly, letting the chocolate release on its own terms.
If an edge comes up ragged, I trim it clean with a knife rather than trying to smooth it with a finger, which leaves prints and softens the surface.
For an upright sail that stands in buttercream, I keep the curve gentle and the base flat enough to press into frosting without wobbling.
The clip marks the back, so that side faces away from view. The sail goes in last, after the cake is fully frosted, because chocolate softens at room temperature and a warm kitchen will wilt it in minutes.
2. Chocolate Shavings

A plain chocolate bar and a spatula are all you need for chocolate shavings that look professional without the tempering step.
Hold the bar vertically against the blade and draw the spatula toward you in thin strips. Cold chocolate cracks into neat shards; room-temperature chocolate yields soft curls that hold their spiral.
I reach for a 60–70% dark bar when I want sturdy shards to press into buttercream, and a sweeter milk chocolate when I want loose curls to pile on top.
The curls melt quickly from body heat, so I chill the bar ten minutes before shaving and work fast. If the chocolate starts smudging instead of curling, it has warmed too much; ten minutes back in the refrigerator fixes it.
Shavings work on the top of a cake or pressed onto the sides, and they hide a multitude of sins if your frosting is less than perfect.
3. Chocolate Cups

Water balloons make the best mold for chocolate cups because their thin latex lets the shell release cleanly once the chocolate sets.
Regular party balloons are too large and the rubber grips the chocolate, so the shell cracks when you try to peel it away.
Temper your chocolate first so it shrinks slightly as it firms up. Hold each inflated balloon by the knot and dip it into the chocolate to about two-thirds of its height, then lift and let the excess drip back.
A second dip gives you a sturdier wall, which matters more than thickness at the base. Set the balloons knot-side down on parchment paper and chill until the chocolate sounds hard when tapped.
Deflating takes patience.
Snip a tiny hole near the knot and let the air hiss out slowly. A sudden collapse will fracture thin shells.
Once the balloon pulls away from the interior, reach in with tweezers and remove the deflated rubber in pieces rather than tugging the whole thing at once. The cup lifts off the parchment with a faint snap.
4. Chocolate Drips

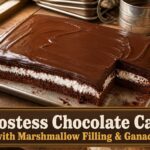
A ganache drip looks effortless, but the temperature of the ganache and the chill of the cake are what separate a controlled ribbon from a runaway slide.
Room-temperature ganache poured over a chilled cake gives you that glossy, deliberate drip that stops where you want it.
I test consistency by lifting the spoon and watching how it falls.
Too warm, and the ganache races to the cake board; too cool, and it clots instead of drips. It is ready when it coats the spoon in a thick curtain and breaks off in a slow, steady stream.
Pour from the edge first, using a spoon or a squeeze bottle for precision, then fill the top once the sides are set.
Chill time on the cake matters more than most recipes admit. A cake fresh from the fridge, 30 minutes or more cold, sets the ganache on contact and keeps the drip short and neat.
A barely-cool cake lets the ganache keep running, giving you longer, thinner drips that can pool at the base if you are not watching. I prefer the shorter drip for weeknight cakes; it travels better and looks cleaner sliced.
5. Chocolate Shapes

Silicone molds let you build a chocolate shape library in an afternoon. I keep a set of hexagons, half-spheres, and small leaves for cakes that need a little architecture without the fuss of piping.
Tempered chocolate is non-negotiable here. Untempered chocolate turns dull and soft within hours, so the shine and snap you pour in is the shine and snap you get.
Fill each cavity to the rim, then rap the mold firmly against the counter to drive air bubbles to the surface. Those trapped pockets are what make a geometric piece look homemade in the wrong way.
Timing the release matters more than most guides admit. Too soon and the chocolate bends coming out; too late and the slight contraction that helps release stalls out.
I pull them when the mold loses its warmth and the pieces sound hollow tapped with a fingernail, usually 10–15 minutes at room temperature. Invert, give a gentle flex, and they drop out clean.
The limit is fragility. Thin stems or sharp points break if you look at them wrong, so I plan those shapes for the top center of a cake where they do not travel far from hand to placement.
6. Chocolate Flowers

Chocolate flowers sit somewhere between a quick garnish and a showpiece, and the difference comes down to petal thickness. For petals you can actually curve and overlap, couverture chocolate tempered glossy and firm is the move.
Its higher cocoa butter content gives the fluidity you need to spread thin on parchment paper and the snap you need to peel them without cracking.
I build roses from the inside out. A tight spiral of parchment-piped chocolate forms the bud, then I cut teardrop petals freehand or pipe them with a fine round tip, letting each set before the next layer.
The petals need to be just set, not cold, so they bend without breaking when you press their base to the bud.
Too warm and they sag; too cold and they shatter. Three to four rings of graduated sizes gives a believable bloom.
If you skip tempering, chocolate wafers will work for flatter, simpler shapes, but they lack the snap for thin petals that hold a curl. For roses, the temper is worth the extra ten minutes.
7. Chocolate Stencils
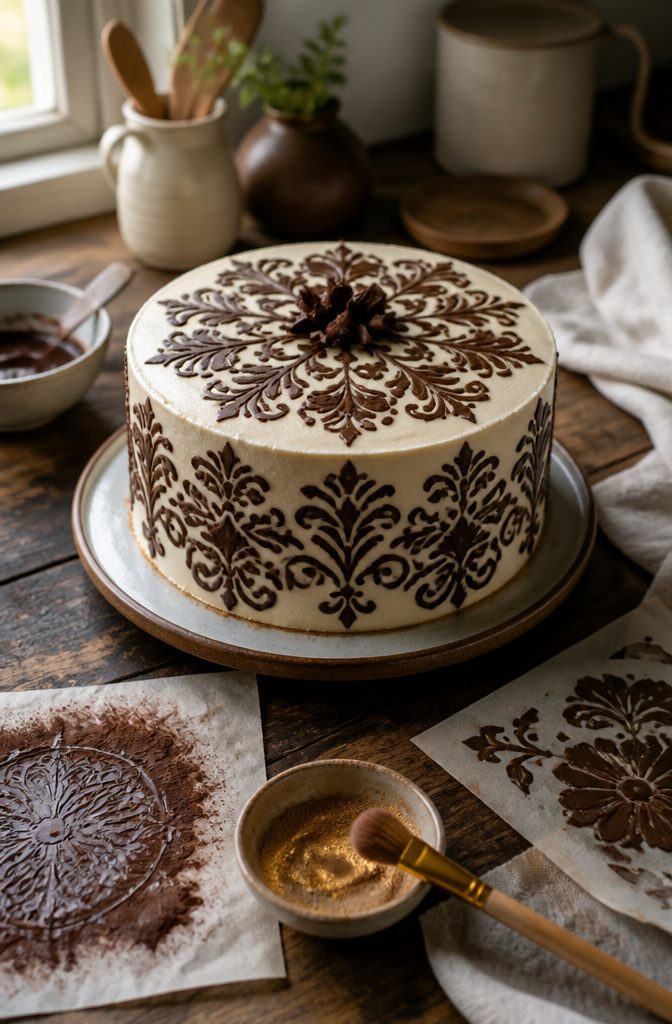
A chocolate stencil gives you a pattern that looks pressed into the chocolate itself, not piped on top.
You start by melting chocolate chips and spreading them over parchment paper, then scoring lines with the edge of an offset spatula or a knife where you want the pieces to break.
Let that base layer set at room temperature for about an hour, or 30 minutes in the fridge.
For the stencil itself, parchment paper works, though wax paper is an alternative.
Lay your chosen stencil over the hardened chocolate, pour more melted chocolate on top, and scrape the excess away with a frosting smoother or offset spatula so only what sits in the stencil openings remains.
Peel the stencil back gently and the design stays. A dip in hot water before you cut along your scored lines helps the knife glide cleanly through.
The finished pieces lift off the parchment once set.
Press them upright into the frosting for height, or lay them flat against the cake sides. If you want color, brush luster dust straight onto the chocolate or mix it with vodka to make an edible paint.
8. Chocolate Cigarettes

Tempered chocolate spread into a thin, even rectangle on a flat surface sets the foundation for chocolate cigarettes.
The layer should be thin enough to curl but not so fragile that it shatters under the scraper. Marble works well here because it pulls heat away fast and evenly, though any flat, cool surface will do.
The chocolate needs to sit at a temperature where it is fully set yet still pliable. Too cold and it cracks into shards; too warm and it smudges instead of curling.
A bench scraper held perpendicular to the rectangle’s length, pushed in one smooth motion, rolls the chocolate into a tight spiral that resembles a cigarette. The first few attempts may produce uneven curls, which is why I always make extra.
Storage is where most home bakers lose them. These curls are brittle once they harden completely, so an airtight container at cool room temperature works better than refrigeration, where condensation softens the finish.
Layer them between sheets of parchment and keep the container level; nothing ruins the shape faster than stacking weight on top.
9. Chocolate Wrapped Cakes
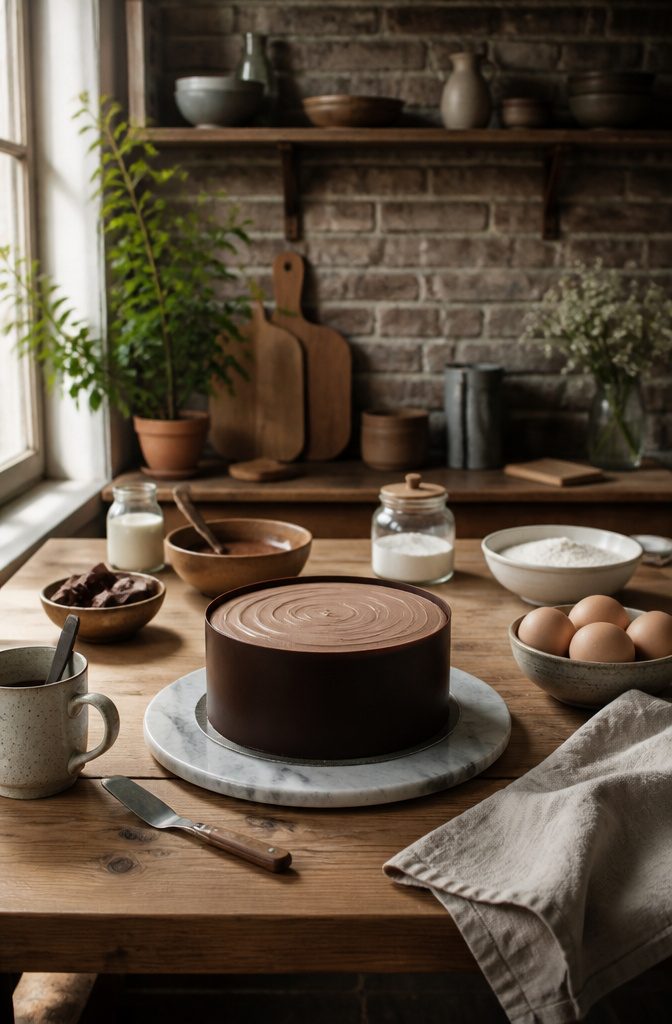
A chocolate collar gives any layer cake the instant polish of a bakery finish, and the method is straightforward once you know the sequence.
Start with a chilled cake so the frosting is hard; soft buttercream will smudge the chocolate from behind.
Wrap a strip of parchment around the cake, trimmed to the exact height and just slightly longer than the circumference, then spread melted chocolate chips over it edge to edge.
Lift it while still flexible, press it against the cake sides, and return the whole thing to the refrigerator for a full hour.
The parchment peels away cleanly if you pinch one end and pull slowly; rush this step and the chocolate cracks.
Any smudges on the board wipe off with a paper towel wrapped around a finger, especially easy if you used a greaseproof board from the start.
For the neatest slices when you serve, dip your knife in hot water between cuts.
The result reads as far more technical than it actually is, which is why I reach for this technique when I want a clean look without piping bags or specialty tools.
10. Ombre Chocolate Frosting

An ombre chocolate frosting starts with three batches of buttercream tinted at different strengths: one left dark, one lightened with a little extra powdered sugar or white chocolate, and one in between.
I divide the total frosting into uneven portions, since the darkest shade only needs to cover the bottom third of the cake and the lightest shade takes the top.
Spreading works better than piping for the transition. I apply each band with an offset spatula, keeping the edges wet so they stay workable.
Drag a bench scraper vertically around the cake while the frosting is still soft, pulling color upward and downward until the lines soften into each other.
Too much scraping erases the gradient entirely; two or three firm passes usually does it.
A turntable helps, but I have done this on a dinner plate in a pinch. The real limit is temperature.
Cold frosting resists blending, and warm frosting slumps into a single muddy shade. Work in a cool room and chill the cake only after the ombre is set.
Tempering Chocolate

Tempering is what separates bakery-case gloss from the soft, dusty bloom chocolate gets when you just melt it and hope.
The crystal structure inside cocoa butter collapses the second heat hits it, and without rebuilding that structure you lose the snap and the shine that make decorations worth eating.
Dark chocolate needs to reach 90°F, milk chocolate 86°F, and white chocolate 84°F before it is in temper. After that controlled heating, the cooling step locks the crystals into stable form.
Hit those temperatures by microwaving in bursts: thirty seconds, stir, another thirty, then fifteen, then ten. Rushing it throws the whole batch.
Untempered chocolate stays soft at room temperature, turns dull within hours, and slumps off the cake. Tempered chocolate sets firm, keeps its mirror finish, and breaks cleanly between your teeth.
For chocolate sails, shavings, or any decoration that needs to stand up and look polished, tempering is the step that makes the rest of the design possible.
Real Chocolate vs. Compound

For chocolate cake decoration, the chocolate you choose matters more than the technique.
Real chocolate contains cocoa butter, which gives it that melt-in-your-mouth creaminess and superior flavor, but it demands tempering before you can shape it into curls, sails, or molded pieces.
Tempered correctly, it sets with a beautiful shine and clean snap. The process is not difficult to learn, though it does take practice, and the result is worth the effort when taste is the priority.
Compound chocolate, sometimes called coating chocolate, replaces cocoa butter with palm oil or similar fats.
It does not need tempering, holds up better in warm kitchens, and costs less. The difference is real: it leaves a waxy film on the tongue and never achieves the depth of flavor that makes chocolate worth eating.
I use compound only for structural pieces that will sit untouched on a display cake, or when I am working in summer heat without air conditioning. For anything a guest actually bites into, real chocolate wins.
Tools That Matter

Parchment paper is the one tool that serves almost every chocolate cake decoration in this article.
I lay a sheet on the counter for piped shapes, chocolate sails, and even the curved cups that need a flexible surface to peel from.
The cheapest rolls hold up fine here; one source notes Costco carries the least expensive option, though any grocery-store brand works.
A piping bag, whether disposable plastic or a zip-top bag with the corner snipped, handles everything from delicate letters to thick drips. The hole can always be cut larger, but never smaller, so start tiny.
For anything more detailed than a border, the zip-top solution gets awkward fast; a real bag with a point tip earns its drawer space if you decorate more than twice a year.
Silicone molds do one thing parchment cannot: produce identical shapes, fluted edges, or geometric patterns with no hand-steadiness required. They are not essential for the techniques here, and if your storage is tight, skip them.
The balloons for chocolate cups do need to be the small water-bomb size, not standard party balloons; the chocolate releases cleanly only from the smaller surface.
What I would skip: specialty scrapers with multiple edge patterns. A straight bench scraper or the dull side of a long knife handles every finish this list asks for.
Frequently Asked Questions
How do you temper chocolate?
Temper chocolate by heating dark chocolate to 90°F, milk chocolate to 86°F, or white chocolate to 84°F, then cooling it to rebuild the crystal structure that gives it shine and snap.
Microwave in bursts of 30 seconds, then 30, then 15, then 10 seconds, stirring between each. Without tempering, chocolate stays soft, turns dull within hours, and slumps off the cake.
What type of chocolate is best for decorating cakes?
Couverture chocolate works best for chocolate cake decoration because its higher cocoa butter content gives the fluidity you need for thin petals, sails, and curls, plus the snap to hold their shape.
Real chocolate with cocoa butter demands tempering but tastes far better; compound chocolate skips that step and holds up in heat, yet leaves a waxy film and lacks depth of flavor. For anything guests actually eat, real chocolate wins.
How do you make chocolate drips?
Pour room-temperature ganache over a cake that has chilled for at least 30 minutes so the ganache sets on contact and drips in a controlled ribbon.
Test consistency by lifting the spoon; it should coat in a thick curtain and fall in a slow, steady stream.
Drip the sides first with a spoon or squeeze bottle for precision, then fill the top once the sides are set.
What are some good chocolate decorations for cakes?
Chocolate sails, shavings, cups, drips, molded shapes, flowers, stencils, cigarettes, wrapped collars, and ombre frosting each add a different level of polish, from simple to striking.
Parchment paper and a bench scraper handle most of these; silicone molds help with identical shapes, and water balloons work for chocolate cups. Start with shavings or a ganache drip if you want bakery looks without specialty tools.
How to fancy up a chocolate cake?
A chocolate collar gives instant bakery polish: wrap a parchment strip around a chilled cake, spread melted chocolate edge to edge, press it to the sides, and chill one hour before peeling the paper away slowly.
For height without piping, press a chocolate sail upright into buttercream, or pile chilled curls on top. An ombre frosting with three shades of buttercream, blended with a scraper while still soft, reads as far more technical than it is.