
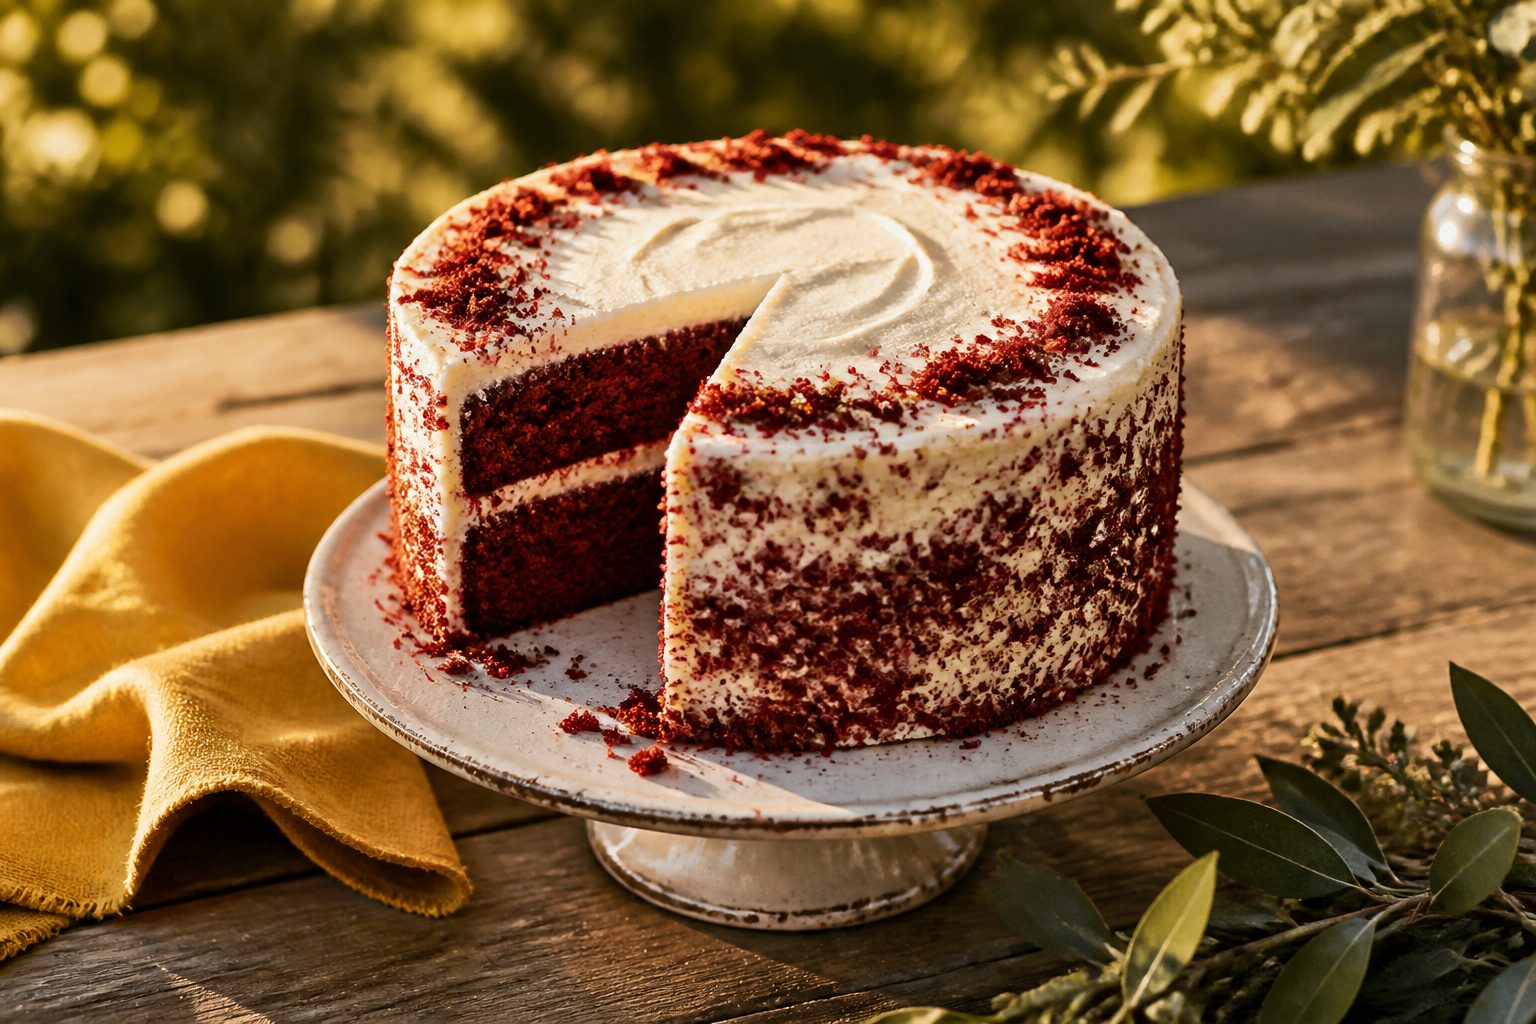
Red velvet cake tastes like mild cocoa with a tang that only real cream cheese frosting delivers, and this version gets there in about an hour of active time.
The frosting itself softens fast enough to slump your piped borders unless you chill it for twenty minutes before loading the bag.
That cold step, plus the hot coffee baked into the crumb to deepen the color without adding flavor, is what separates a cake that holds its shape from one that melts into disappointment.
Ingredients

A red velvet cake that holds up to decorating starts with a precise lineup. Here is what I use for the cake and the cream cheese frosting that actually belongs on it.
For the cake
- 3 cups (600 g) sugar
- 1 1/2 cups (360 g) vegetable oil
- 3 large eggs, room temperature
- 1 1/2 cups (368 g) buttermilk, room temperature
- 2 teaspoons vanilla extract
- 2 tablespoons red food coloring
- 3 tablespoons (15 g) unsweetened cocoa powder
- 3 cups (360 g) all-purpose flour
- 1 1/2 teaspoons baking soda
- 1 1/2 teaspoons baking powder
- 1 1/2 teaspoons salt
- 1 1/2 teaspoons white vinegar
- 3/4 cup (180 g) hot coffee
For the cream cheese frosting
- Brick-style cream cheese, softened
- Butter, softened
- Powdered sugar (confectioners’ sugar)
- Vanilla extract
- A small pinch of salt
Room temperature eggs and buttermilk emulsify cleaner than cold, and the hot coffee deepens the color without adding coffee flavor.
If you plan to pipe decorations, chill the finished frosting for 20 minutes before loading the bag; it holds a sharp edge better that way.
How to Make and Decorate the Cake

- Set your oven to 340°F and prepare two 8-inch round pans with a thin coat of grease and a circle of parchment on the bottom. The parchment is what lets the layers release cleanly.
- Whisk 3 cups of sugar into 1½ cups of vegetable or canola oil until the mixture looks smooth and glossy. Add 3 eggs, 1½ cups of buttermilk, 2 teaspoons of vanilla, and 2 tablespoons of red food coloring. Beat until everything is fully combined.
- In a separate bowl, sift together 3 cups of all-purpose flour, 1½ teaspoons each of baking soda and baking powder, 3 tablespoons of cocoa powder, and 1½ teaspoons of salt. Add these dry ingredients to the wet in batches, stirring gently after each.
- Pour in ¾ cup of hot coffee and 1½ teaspoons of white vinegar, then mix just until combined. Overmixing here deflates the crumb.
- Divide the batter between the pans and bake on the middle rack for 30 minutes. A toothpick should come out with a few moist crumbs, not dry.
- Cool the pans on a wire rack until they feel just warm, then turn the layers out to finish cooling completely. Apply a thin crumb coat of cream cheese frosting, chill until firm, then spread the final layer and smooth it with a scraper. Decorate however you like.
Frosting Options

Cream cheese frosting is the classic pairing for red velvet cake, and the tangy flavor is what makes the combination work. It cuts through the sweetness and picks up the subtle cocoa notes in the crumb better than anything else.
If you want a variation that keeps the tang but adds depth, chocolate cream cheese frosting does the job. It is richer and more indulgent, though it can overwhelm the cake’s signature flavor if you use too heavy a hand.
Vanilla buttercream is the lighter alternative, and it lets the red velvet taste stay center stage while still giving you a smooth finish for piping or spreading.
For anyone avoiding dairy, a non-dairy whipping cream is an option, though it is less common and harder to find in standard grocery stores.
The classic is classic for a reason, and in my judgment the slight extra effort of cream cheese frosting pays off in the balance it creates.
Cake Preparation
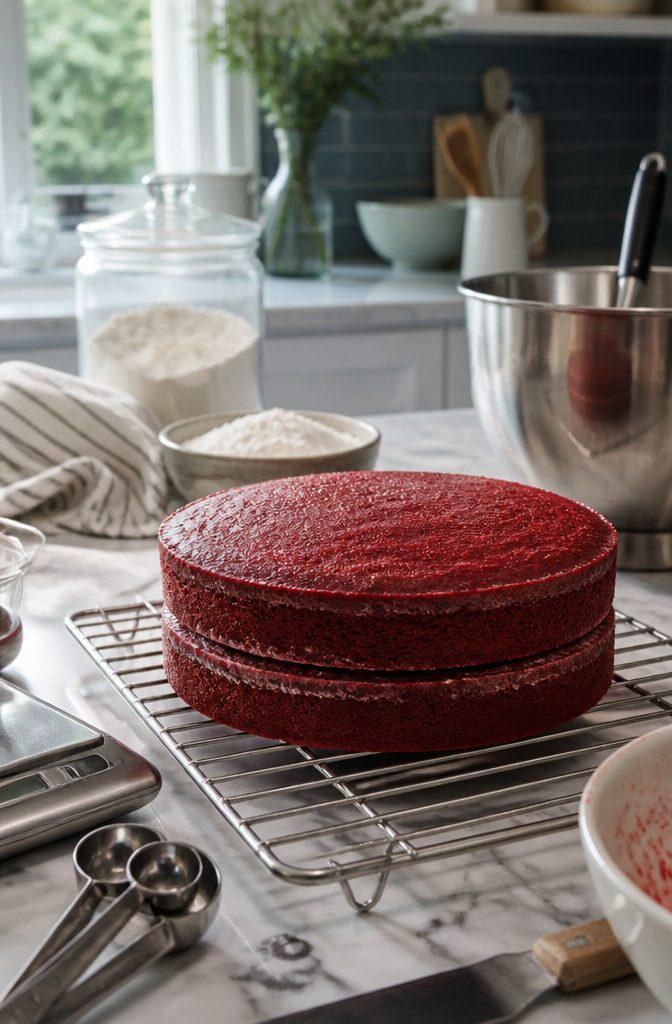
The texture of red velvet cake depends on how you handle the batter before it ever reaches the oven.
Cake flour gives the soft, fine crumb that holds up under frosting, and mixing it just until the dry and wet ingredients come together keeps that structure intact.
Overmixing develops too much gluten, and you will end up with a dense layer that crumbles unevenly when you try to smooth on a crumb coat.
A fully cooled cake is non-negotiable for decorating. Warm layers melt buttercream on contact, trapping crumbs and ruining the clean surface you need for piping or smoothing.
I bake my layers one or two days ahead, wrap them tightly once they reach room temperature, and freeze them. Thawed layers are actually easier to level and stack than freshly baked ones because the cold firms the crumb.
The rustic look some decorators favor works with red velvet precisely because the cake color shows through in places.
That only looks intentional if the underlying texture is even. Skipping the cooling step or rushing the mixing stage turns what should be a deliberate style into a messy cover-up.
Decoration Techniques

A crumb coat is non-negotiable if you want a smooth finish on a red velvet cake.
Thin layer of frosting, chill until firm, then proceed. The cold hardens the butter in the frosting and locks those red crumbs in place so they do not surface on your final coat.
For the polished look, a cake scraper run vertically along the sides while rotating the stand removes ridges fast.
A straight spatula finishes the top by pulling that ridge inward. The scraper wins for speed; the spatula gives more control at the edges.
Piping comes in after the final chill. A pastry bag with a simple tip and quick squeezes every half-inch or so along the base hides the cake-to-board line cleanly.
Red velvet also suits the rustic route: looser strokes, visible texture, maybe a flourish on top that mimics the sides. Perfection is not the point for this particular cake.
Cream cheese frosting complicates piping because it softens fast.
Twenty minutes in the refrigerator firms it enough to hold a swirl. Without that chill, your decoration slumps.
Two ways to play this: polish it mirror-smooth for drama when you slice, or keep it relaxed and let the red peek through.
The polished style wins for a birthday where you might write on top; rustic wins for weeknight dessert where speed matters more than ceremony.
Frequently Asked Questions
What frosting goes best with red velvet cake?
Cream cheese frosting is the classic pairing, and its tang cuts through the sweetness while picking up the subtle cocoa notes in the crumb.
Chocolate cream cheese frosting adds richness and depth, though it can overwhelm the signature flavor if overdone. Vanilla buttercream is a lighter alternative that keeps the red velvet taste front and center.
Can I make red velvet cake without buttermilk?
Yes, you can substitute buttermilk with a mixture of milk and vinegar or lemon juice. Any substitute needs to replicate that acidity to get similar results.
Why is red velvet cake red?
Traditionally, the color came from a natural reaction between cocoa powder and acidic ingredients like buttermilk and vinegar, producing a reddish-brown tint. Most modern recipes add 2 tablespoons of red food coloring to reach the bright hue people expect.
How do I make a box red velvet cake taste like scratch?
The key techniques for a from-scratch cake that tastes better than box are precise ingredient temperatures and careful mixing: room temperature eggs and buttermilk emulsify cleaner, and hot coffee deepens color without adding coffee flavor.
What do they use to color red velvet cake?
This recipe calls for 2 tablespoons of red food coloring. The hot coffee in the batter also helps deepen the final color without contributing any coffee flavor to the finished cake.
What goes into a red velvet cake?
The cake contains sugar, vegetable oil, eggs, buttermilk, vanilla extract, red food coloring, cocoa powder, all-purpose flour, baking soda, baking powder, salt, white vinegar, and hot coffee.
The cream cheese frosting uses brick-style cream cheese, butter, powdered sugar, vanilla extract, and a pinch of salt.
How do I make a box cake better?
For the best results with red velvet specifically, baking from scratch lets you control ingredient quality and temperature, which affects both flavor and how well the cake holds up to decorating.