
The difference between a cake that looks bakery-made and one that looks hurried is not skill level but finishing choices.
Most home bakers already own what they need to add flowers, metallics, or a clean drip; what stops them is knowing when each works and when it collapses.
A chilled cake and a one-to-one ganache ratio fix the drip that slides off. A drinking straw fixes the flower that wilts into the frosting by morning.
1. Add Flowers

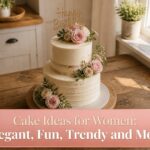
Fresh flowers turn any cake into something that looks like it came from a bakery case, and the work is almost nothing.
Roses, lavender, and pansies are all safe edible flowers that show up constantly on wedding cakes for good reason: they hold their shape, and their flavor stays quiet.
The flower must be safe for consumption and free of pesticides; grocery-store florists and garden centers cannot promise that, so a specialty supplier or your own unsprayed garden is the smarter source.
The one technique worth knowing is the straw barrier. Cut the stems to about three inches, then push a straw, or a bubble tea straw for thicker stems, into the cake and slide the flower inside.
That prevents the stem from weeping into the frosting and keeps any residue from touching what people eat. Some bunches get tied with an elastic band for a fuller cluster, which also works if you are clustering smaller blooms.
If you are decorating the day before, wax paper or parchment under the flowers buys a little insurance, though same-day assembly keeps wilting out of the equation entirely.
2. Add a Simple Drip
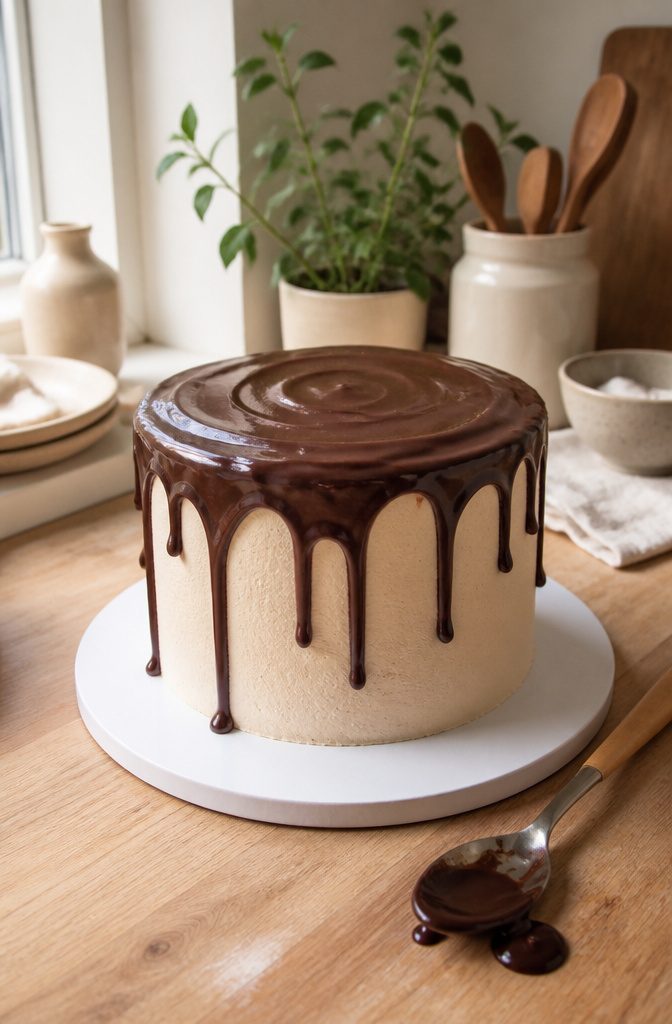
A drip finish looks polished enough for a bakery window, but the work behind it is mostly waiting.
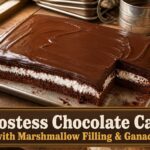
The cake has to be cold before you start, chilled so the warm ganache does not melt through the buttercream underneath. That temperature gap is what lets the drip set on contact instead of sliding all the way down.
A one-to-one ratio of chocolate to heavy cream is the standard ganache. Four ounces of each, melted gently over low heat, will cover a six-inch cake with some left over.
Pull it off the heat before it gets too loose. When it moves like cold maple syrup, pour it slowly from the center and let it find the edges on its own.
A squeeze bottle gives the cleanest control, but the back of a spoon works if that is what you have. For something even quicker, warm a can of store-bought frosting in the microwave until it pours.
Caramel sauce straight from the jar is another shortcut that still looks intentional. The finish does half the decorating for you.
3. Decorate with Fresh Fruit

Fresh fruit is the decorating move that needs zero piping skill and still looks like you planned it.
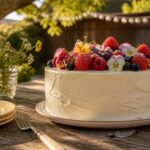
A handful of mixed berries across a vanilla or lemon cake carries more visual weight than a border of fussy frosting dots, and the color does the work for you.
Berries are the safest bet: raspberries pair well with chocolate and lemon, strawberries and blueberries add contrast against white or pale yellow layers.
Even three strawberries, sliced and fanned, turn a plain cake into something you would bring to a table. Grapes and cherries hold their shape without browning, so they stay neat through an afternoon.
Placement is what separates scattered-from-the-container from intentional. Cluster fruit in odd numbers, group tighter in one corner rather than dotting evenly, and let a single color dominate with a second as accent.
For extra polish, brush berries with simple syrup or corn syrup to give them a gloss that catches light. A light spray of edible gold or silver works too if you want shimmer for a birthday or holiday.
You have to get the timing right. Fruit goes on within an hour of serving, and the cake surface underneath should be buttercream or glaze, not bare sponge, or juices will seep in.
Keep the fruit washed and fully dried before it touches the cake, or you will get wet spots instead of clean color.
4. Use Metallics
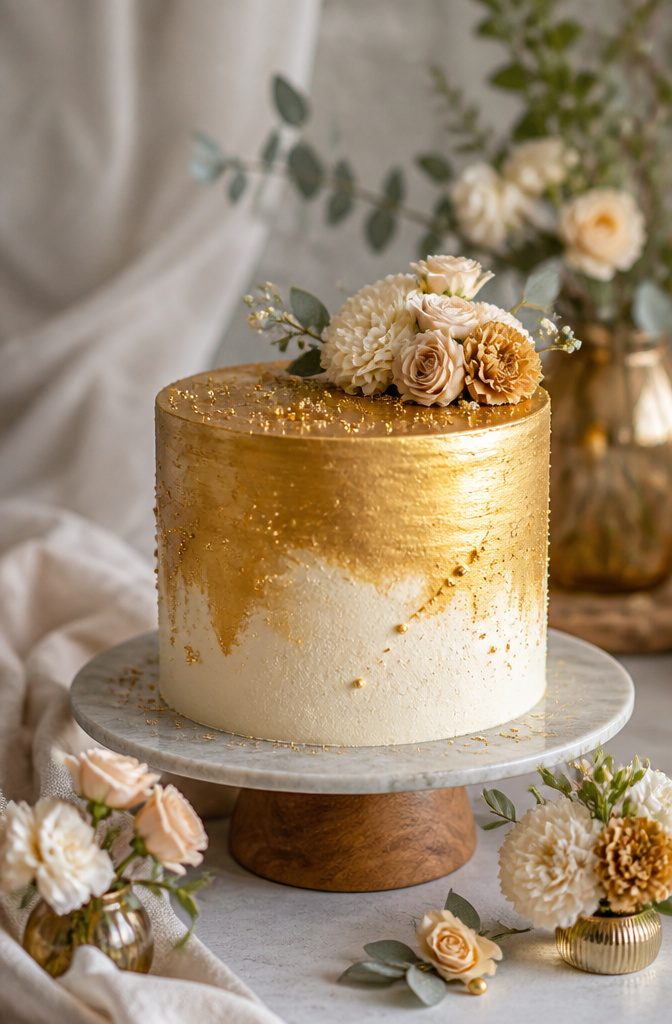
A metallic finish reads expensive even when the technique behind it is not. Edible metallic paint, gold leaf, and metallic sprinkles all catch light in ways that flat color cannot, and none require more than a steady hand.
Paint is the most forgiving entry point. You brush it on like watercolor, building opacity where you want it, leaving the base color to show through where you do not.
Gold leaf asks slightly more patience: it tears if you breathe wrong, but a single sheet covers more surface than you expect, and the gaps where it wrinkles read as texture rather than mistake.
Sprinkles are the fastest of the three.
Hold the cake over the sink, run a line of buttercream along the edge, and press the metallic bits in by hand. They scatter everywhere regardless, so the sink matters.
For celebrations, a metallic topper skips technique entirely. Plaque-style toppers that sit flat on the frosting have replaced the kind you insert, which means no holes to patch and no structural guesswork.
Custom phrases run cheap on Etsy if you want something specific. Pair any of these with a simple buttercream base and the cake looks intentional, not last-resort.
5. Dust with Confectioner’s Sugar or Cocoa Powder

Dusting a cooled cake with confectioner’s sugar or cocoa powder is the fastest way to give it a finished look when you have no time and no decorating supplies.
A fine mesh sieve is the only tool required. Tap it lightly over the surface and you get an even, matte coating that reads as bakery-case intentional rather than last-resort plain.
A paper doily from the craft store turns the dusting into a pattern. Lay it on top of the cooled cake, sprinkle through the sieve, then lift straight off.
The holes need to be large enough for the sugar or cocoa to pass through in distinct spots; otherwise the design blurs into a faint ghost.
A stencil works the same way if you want something more specific, like a letter or a simple shape, though a doily is usually easier to find on short notice.
The sugar settles into any slight unevenness in the surface, which is why this works best on a cake with at least a thin crumb coat or a glaze underneath.
A completely bare cake will still look better dusted than not, but the coverage is patchier.
Confectioner’s sugar starts to absorb moisture within an hour or two, so add it right before serving or expect the soft, powdery finish to disappear into the cake.
Cocoa powder lasts a little longer but darkens as it sits. Either way, this is a same-day move, not something to do the night before.
6. Go with a Monochromatic Color Scheme

A monochromatic color scheme does half the decision-making for you.
Pick one color family, dusty pink, pale blue, or cream, and stay inside it for every layer of the finish. The same color in different depths reads as intentional even when your piping is still basic.
Cover the cake in one shade, or in plain white if you want the simplest base. Pipe borders or add texture in lighter and darker versions of that same color.
Tone-on-tone textures hide uneven spots that would stand out against a strong contrast. Sprinkles in matching tones finish the look without introducing a second color to coordinate.
The result looks modern and elegant, and it works with buttercream skills you already have.
7. Use a Cake Base
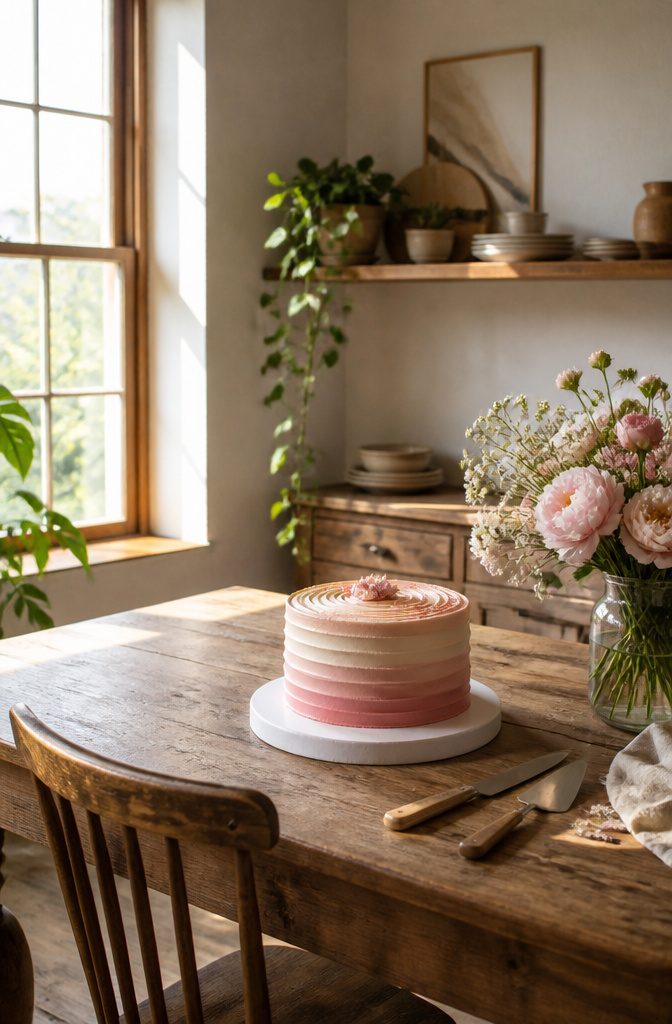
A cake sitting on the wrong surface looks unfinished no matter how smooth the frosting is.
A plain board covered in food-safe paper beats a shiny foil base every time; the foil catches light in uneven streaks and reads as amateur against the work you put in.
I keep a few cake stands around for height and presence, but the cake itself sits on a board I can lift straight off when it is time to cut.
Trying to slice through layers while the cake is perched on a stand is awkward, and a sliding layer is not a risk worth taking.
If you do not have a board on hand, two or three layers of cardboard glued together and wrapped cleanly will hold most home-sized cakes.
The weight matters here: a heavy filled layer cake needs that extra thickness so the board does not flex when you move it.
Once the base is covered and the cake is set, the whole presentation looks intentional before a single decoration goes on.
8. Add Candy or Cookies
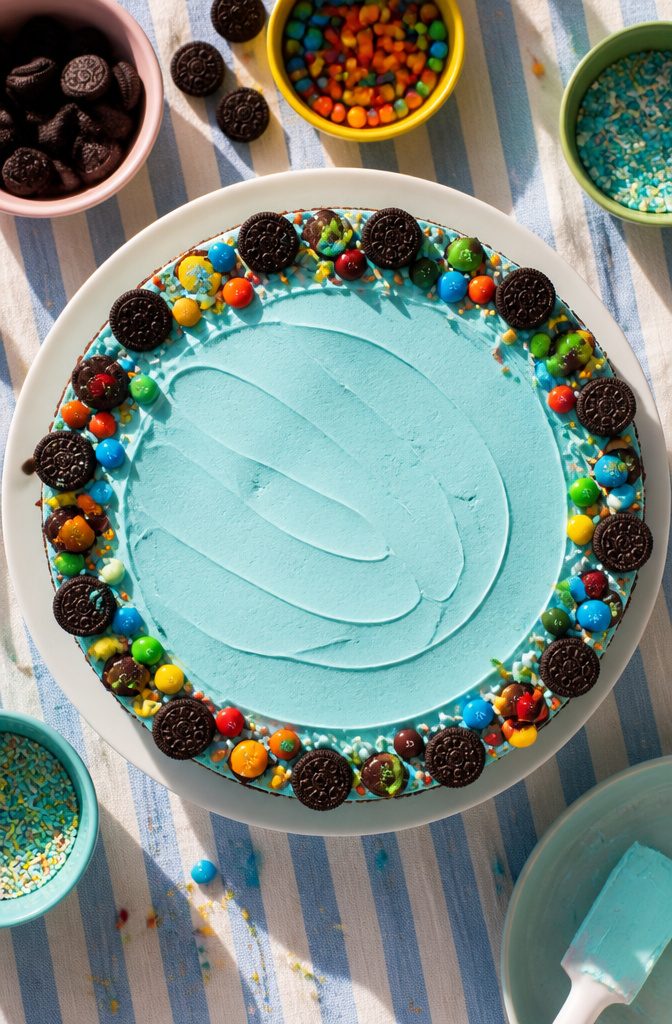
Store-bought candies and cookies give you color and texture without a piping bag in sight.
I line the bottom or top edge of a cake with mini cookies, Ferrero Rocher, mini Reese’s cups, Oreos, or a mix of several, and the result looks intentional and festive.
For a cleaner look, I crush the candy first and add a lot of it; a sparse handful reads as an afterthought, but a dense border or a heavy crescent across one quadrant looks designed.
Whole cookies work as toppers too. I have seen graham crackers carry a camping theme, chocolate chip cookies become teddy bear features, and Oreo halves turn into owl eyes or spider bodies with almost no effort.
A cake covered in fine Oreo or graham cracker crumbs, then finished with whipped cream swirls and fresh strawberries, looks bakery-made and asks nothing more than a food processor or a rolling pin and a bag.
Sprinkles fall in the same category, though I skip the rainbow kind unless I am feeding children. Let the candy do the visual work so you do not have to.
9. Add Texture
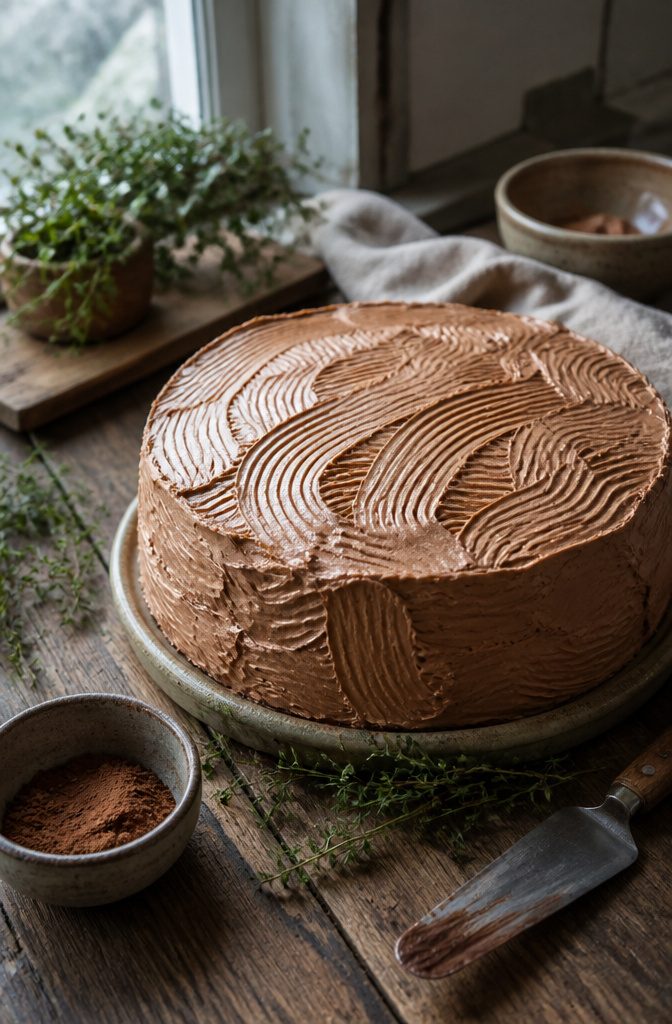
A fork dragged through frosting builds bark-like ridges in seconds, no turntable required. For something gentler, the back of a spoon pressed against the cake while it spins makes subtle grooves that hide uneven buttercream underneath.
No turntable? Pull the spoon upward instead for vertical lines, or sweep random arcs for a rough, hand-finished look.
An angled spatula works for both smooth and textured finishes. The 9-inch or 13-inch size is the one to grab if you own nothing else.
Its blade does ridges, swirls, and the swoops my mother taught me with a spoon, still my go-to when I want a cake to look homemade on purpose.
The limit here is decoration: texture is a base, not the whole design.
Finish with fresh fruit, a few flowers, or a light dusting of confectioners’ sugar. Stand it alone and the cake reads unfinished, not rustic.
10. Use a Simple Glaze
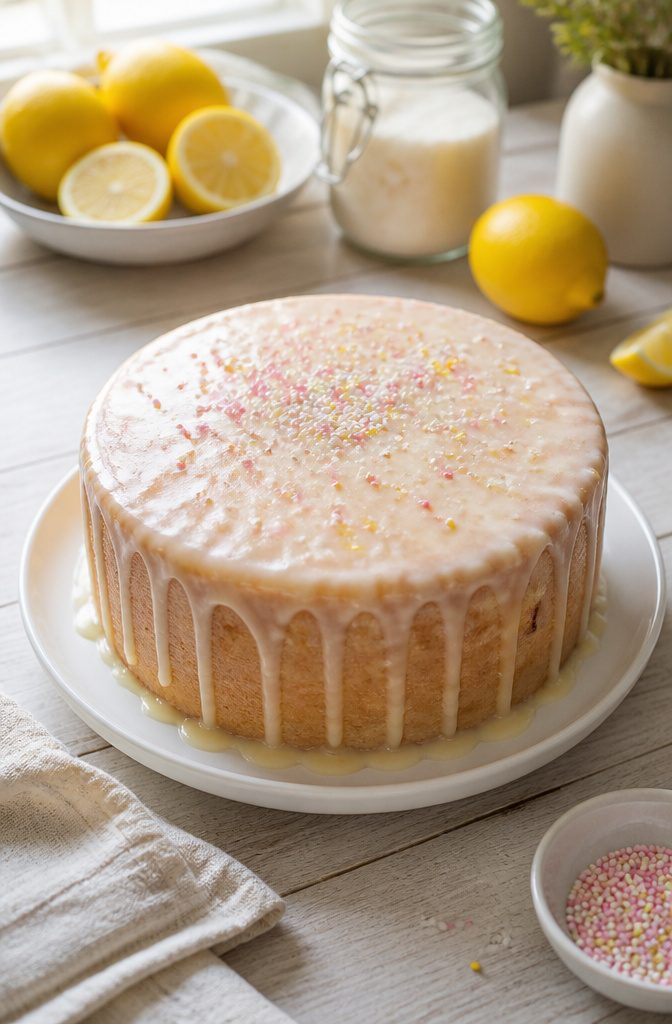
A simple confectioner’s sugar glaze is the fastest way to make a plain cake look finished.
Mix confectioner’s sugar with water, milk, or lemon juice until it pours like heavy cream. Spoon it over a cooled cake and it runs down the sides in thin, even tracks, then sets smooth and faintly crisp.
This is a thin, pourable alternative to buttercream, not a frosting you spread.
Glaze gives you less coverage: it will not hide a rough surface the way buttercream does, so the cake underneath needs to be fairly level. What you gain is speed and a clean, modern look that takes under five minutes.
Flavor follows the liquid.
Lemon juice gives tartness; milk softens the sweetness; water stays neutral and lets the cake itself come through. The glaze firms as it sits, so add any sprinkles while the surface is still wet or they will bounce right off.
Cake Leveling and Stacking
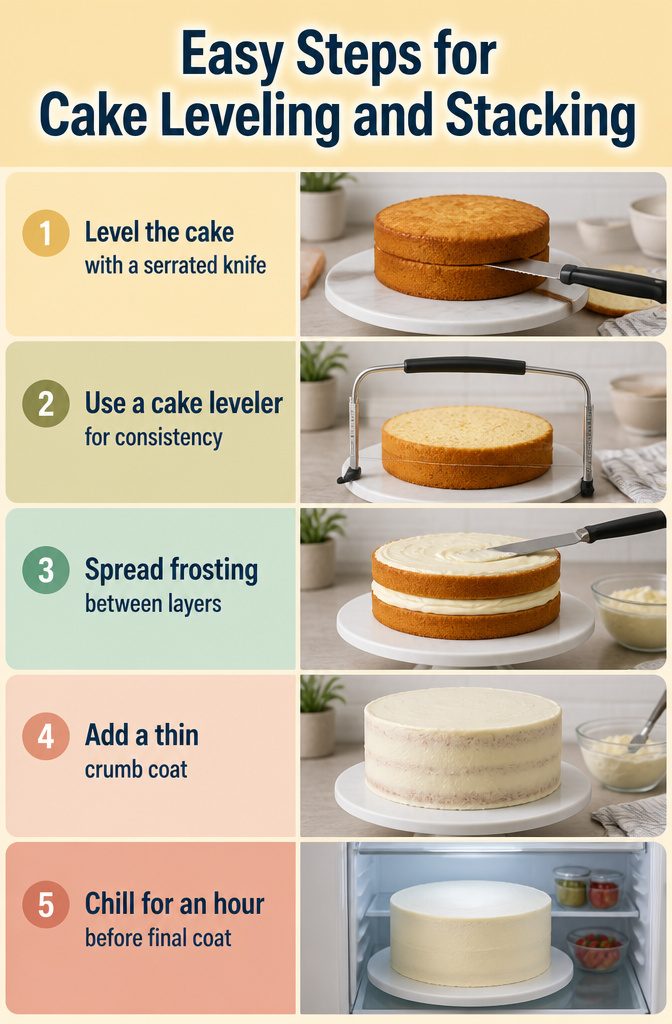
A domed, uneven cake layer is the first thing that marks a home bake, and bakeries simply do not display them.
Leveling the top with a serrated knife or a cake leveler before you stack fixes this, and the leveler wins for consistency.
One source notes that a cake leveler is simple enough that a child can use it with perfect results: set the wire to the depth you need, rest the feet on the counter, and saw away.
The top lifts off and you have an even layer ready for frosting.
A large serrated knife or even dental floss can do the same job, but keeping the cut perfectly flat takes practice most weeknight cooks do not have time to build.
At about $5, the leveler is the tool I would choose. Once your layers are even, spread frosting between them and add a thin crumb coat over the whole cake.
Chill that for an hour, then finish with a thicker layer. The crumbs stay trapped in the first coat, so the final surface stays clean.
Frosting and the Crumb Coat

Buttercream is the frosting that makes easy pretty cake decorating ideas actually achievable at home.
It spreads smoothly, holds its shape, and forgives small mistakes. I keep coming back to my easy buttercream for layer cakes, and I keep The BEST Chocolate Buttercream Frosting bookmarked for chocolate builds.
It is smooth, easy to make, and easy to use, which matters when you are frosting after dinner on a weeknight.
The crumb coat is the step beginners want to skip but should not.
Spread a thin layer of buttercream over the entire assembled cake, pulling frosting from the center of your bowl outward so you do not drag loose crumbs into the main supply.
Some crumbs will stick to that first coat anyway, and that is fine. Chill the cake for about an hour so the buttercream firms up, then spread your final layer.
The cold hardens the butter in the frosting enough that crumbs stay locked underneath, leaving the outer coat clean and ready for whatever decoration comes next. A butter knife is all you need for either layer.
Basic Tools Worth Having
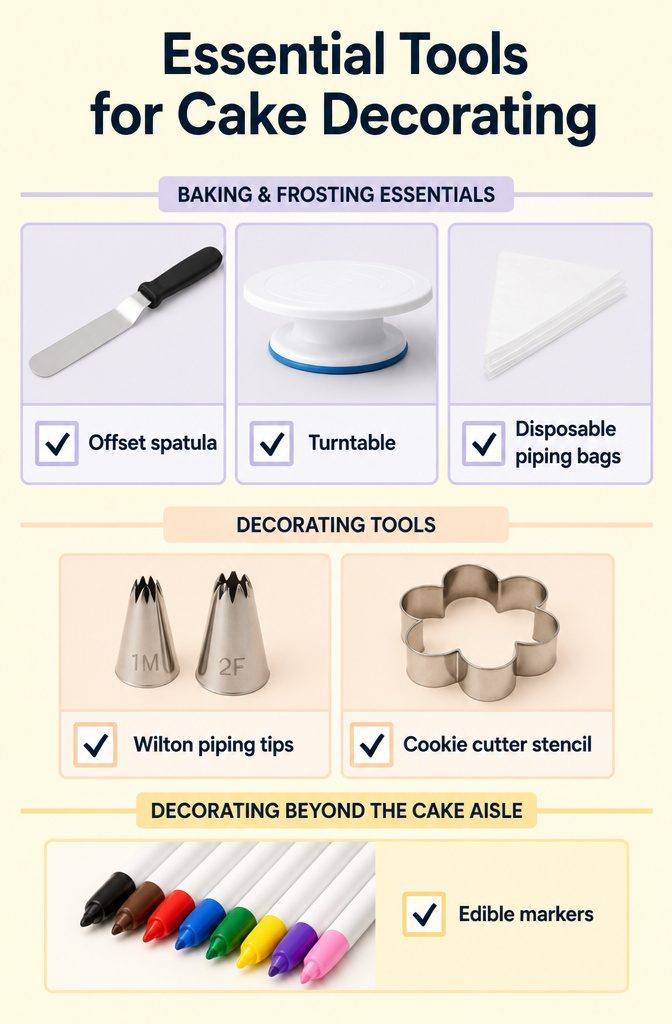
An offset spatula is the one tool I would buy first. The slight bend in the blade keeps your knuckles clear of buttercream while you smooth frosting between layers and around sides, and the small size alone handles most cakes.
A turntable helps more than it costs, especially the basic plastic ones at craft stores that take a coupon without complaint. A lazy susan with a flat top works in a pinch if you already own one.
Disposable piping bags make cleanup trivial, though a freezer bag with the corner snipped off carries you through a single cake. For the star rosettes that read as bakery-made, a Wilton 1M or 2F tip is the standard shape.
What matters more than any of these is that pretty cake decorating ideas do not require a stocked cabinet. Two tools from outside the cake aisle open up different looks entirely.
A basic cookie cutter becomes a stencil: trace the shape onto parchment, cut it out to leave a hole, press it onto a chilled cake, and spread buttercream across the opening.
Peel away the paper and the shape stays, crisp as a stamp. Edible markers do the opposite work, drawing fine lines or filling color onto fondant without a bag or tip at all.
The fine tips handle outlines; the wider ones block in color. Between the two, you can cover a cake in pattern or illustration without ever loading a piping bag.
Chocolate Ganache as a Simple Finish

Chocolate ganache earns its place as a finish because it asks less of you than buttercream while looking like more.
Equal parts chocolate and cream, melted together over low heat, gives you a sauce that sets into a soft, glossy coat.
For a small six-inch cake, four ounces of each is plenty, with enough left over for dipping strawberries if you want.
You have to watch the temperature. Let it cool to about the thickness of cold maple syrup before you pour, or it will run straight off the cake and pool on the plate.
A chilled cake helps too, since cold buttercream underneath can soften and lose its shape when warm ganache hits it.
Pour slowly from the center and let it find the edges on its own, or nudge it with the back of a spoon for a controlled drip.
A squeeze bottle gives even more precision if you want to place each drip.
Few collections treat ganache as a decorating method in its own right, which is a gap worth noticing.
It is faster than smoothing buttercream to a polish, more forgiving of uneven layers, and the slight sheen reads as deliberate rather than amateur. You are committed to chocolate, and you lose the color range buttercream allows.
Fresh Flower Safety

Fresh flowers look effortless on a cake, but the wrong ones carry real risk. Use flowers that are safe and edible, and confirm they have not been exposed to pesticides — grocery store florals and nursery stock usually have been.
Roses, lavender, pansies, and nasturtiums are reliable choices, while baby’s breath and oleander are toxic and belong nowhere near food. Fragrant flowers will transfer their scent to buttercream, so I skip those entirely.
The stems are the other problem. Even clean flowers weep moisture and residue, so inserting them directly into the cake is out.
The straw method fixes this: cut stems to about 3 inches, slip each one into a plastic drinking straw (bubble tea straws for thicker stems), then push the straw into the cake.
The barrier keeps the cake clean and the flower stable.
Trim straws to match stem length, roughly an inch or two, so nothing protrudes. For a fuller cluster, band a few stems together and treat them as one unit.
Decorate the same day you serve. Wilting is not a maybe, it is a deadline.
Frequently Asked Questions
How do you decorate a cake with fresh flowers?
Use only edible, pesticide-free flowers from a specialty supplier or your own unsprayed garden.
Cut stems to about 3 inches, slide each into a drinking straw (bubble tea straws for thicker stems), and push the straw into the cake to block moisture and residue from touching the frosting.
Decorate the same day you serve to avoid wilting.
What are some easy cake decorating ideas?
Fresh flowers, a simple drip finish, fresh fruit, metallic accents, confectioner’s sugar or cocoa dusting, a monochromatic color scheme, candy or cookie borders, textured frosting, and a simple glaze all change a cake with minimal skill.
Each technique relies on color, shine, or pattern to do the visual work instead of precise piping.
How do you make a simple glaze for cake?
Mix confectioner’s sugar with water, milk, or lemon juice until it pours like heavy cream.
Spoon it over a cooled cake and let it run down the sides in thin tracks, then set smooth. Add any sprinkles while the surface is still wet or they will not stick.